Batman Bookshelf

Done

A friend of mine (an excellent woodworker himself) mentioned he had a coworker who was looking for a Batman book shelf, and showed me a photo of what he had in mind.  He felt this project was more up my alley and I agreed that it was something I’d be interested in trying my luck on.

I spoke with his coworker and agreed on dimensions.  The shelf would be 2 pieces totaling 4 ft wide, with a depth of 8 inches.

I considered making the shelves out of a laminated stack of CNC cutouts.  While this certainly would have been the easiest approach, It would have required 8 sheets of 3/4″ MDF, and left a lot of unusable scrap.

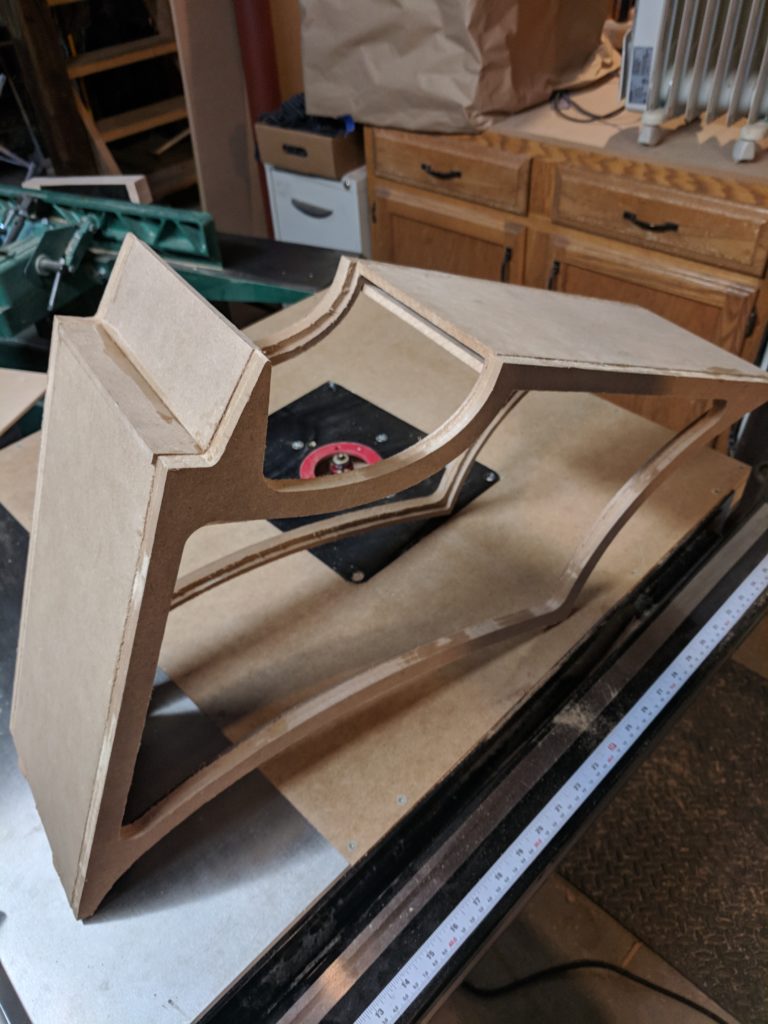
I settled on a more labor intensive, but resource friendly approach.  For starters, I CNC cut a front and back frame for each side of the shelf.  

Each of these frames had a 1/4″ rabbit cut as part of the CNC program. This rabbit allowed for paneling to be attached joining the front to back.
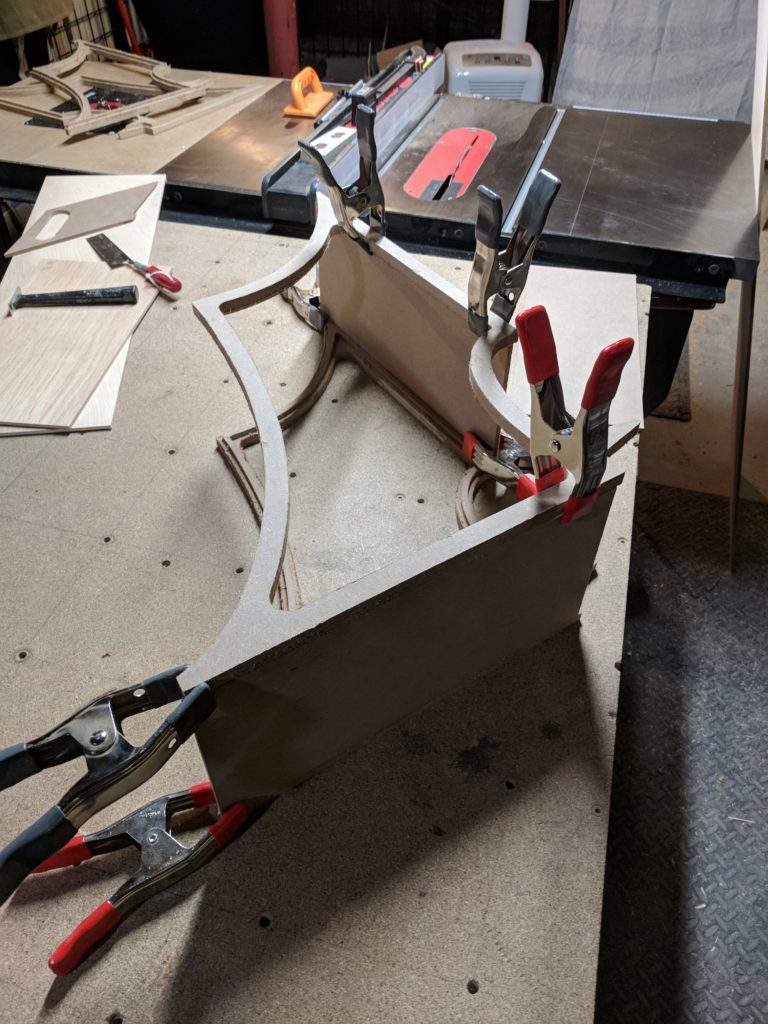
Batman shelf layout
Temporarily clamped to check fits

I glued up all the flat surfaces of the shelf first to define the 3D structure.  The 1/4″ MDF fit perfectly in the CNC cut rabbits.  Bellow; I add a temporary cross piece to keep things square.
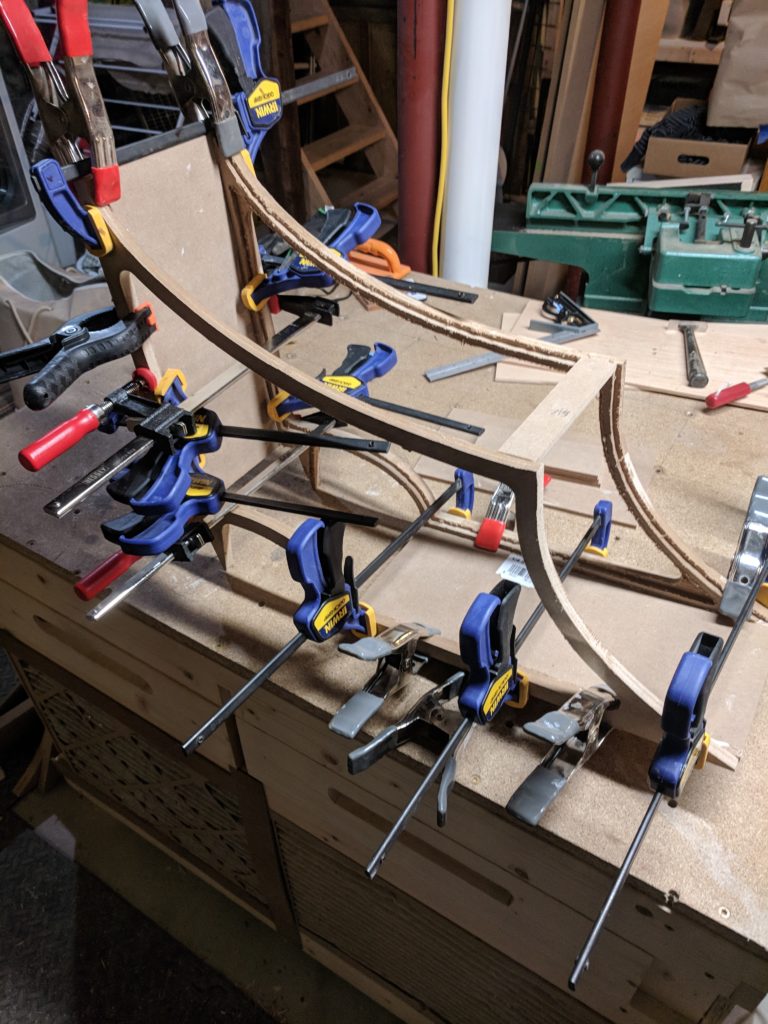
Here we go...
Glue applied and clamped up.
If only it was all flat.
Adding the last of the flat surfaces.

For the curved surfaces I considered a number of options, but settled on Wackywood, a type of plywood designed with the each ply oriented in the same direction.  This orientation allows the sheet to bend in one direction while staying stiff in the other.

I had never used Wackywood, and was disappointed to find that while most sheet products fall under their nominal dimensions (a typical sheet of thin ply or MDF is around 1/32″ undersized) Wackywood was actually over-sized, measuring in closer to 3/8″.  More on this later…

I wrestled the sheets through my table saw ripping them to match the width of the MDF panels already glued up.  Using a string to follow the curves of the front and rear frames, I was able to measure and cut the Wackywood to length.

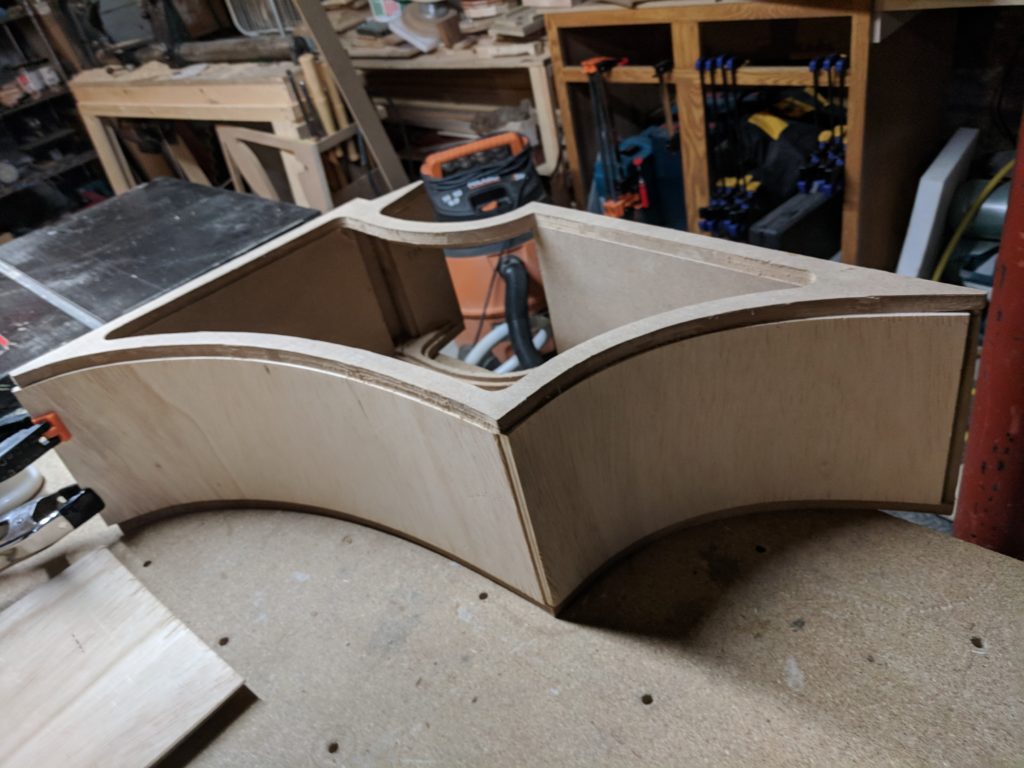
After using every spring clamp I own then running to the store for more, I pieced in the curved sections and glued them.  I did the outsides first, then filled in the insides.
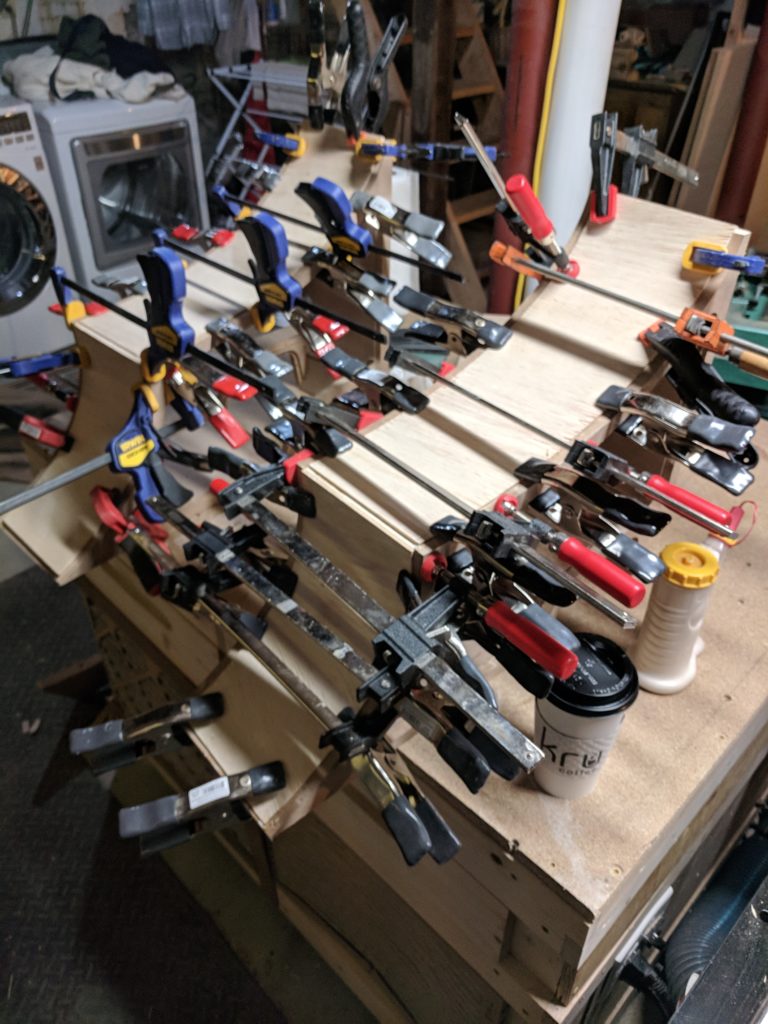
All the clamps!!
Gluing up the outer curved surfaces.
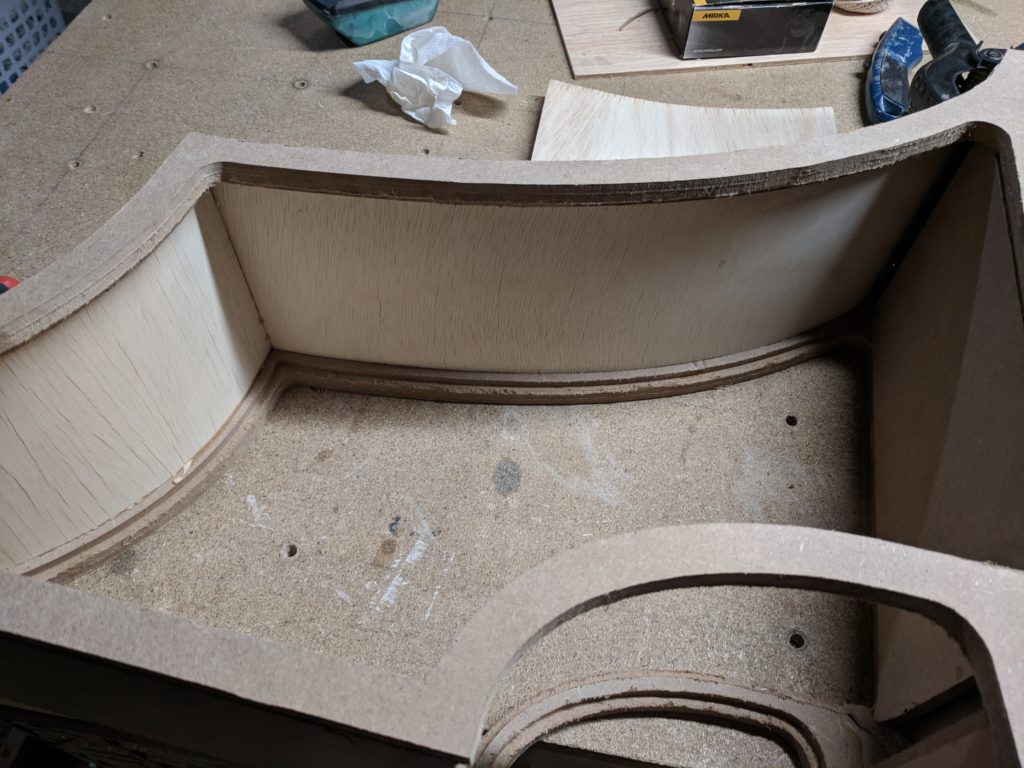
Looking at the outside curved panels from the inside.
Wackywood, wacky thick
Here you can see the issue with the overly thick Wackywood.

I sadly missed a number of steps as far as photos go, but the next step was to fix the step created trying to fit the thick Wackywood into the 1/4″ rabbit.  I ripped down pine strips to match the thickness of the step, and edge banded the MDF.  In some of the tighter curves, I needed to soak the pine to soften it before clamping it into the bend.

To create all of the very tight radii (the ear curves and inside fillets) Bondo body filler was applied and sculpted.  While this method worked, it required lots and lots of sanding; everyone’s favorite.

Once I was happy with the sanding (or I should say too tired and dusty to continue any more), a thick primer was brushed on to further cover up the Wackywood’s crackled texture and any minor pocks in the Bondo.  Some wood filler was used to skim coat the particularly bad areas, followed by some more sanding.
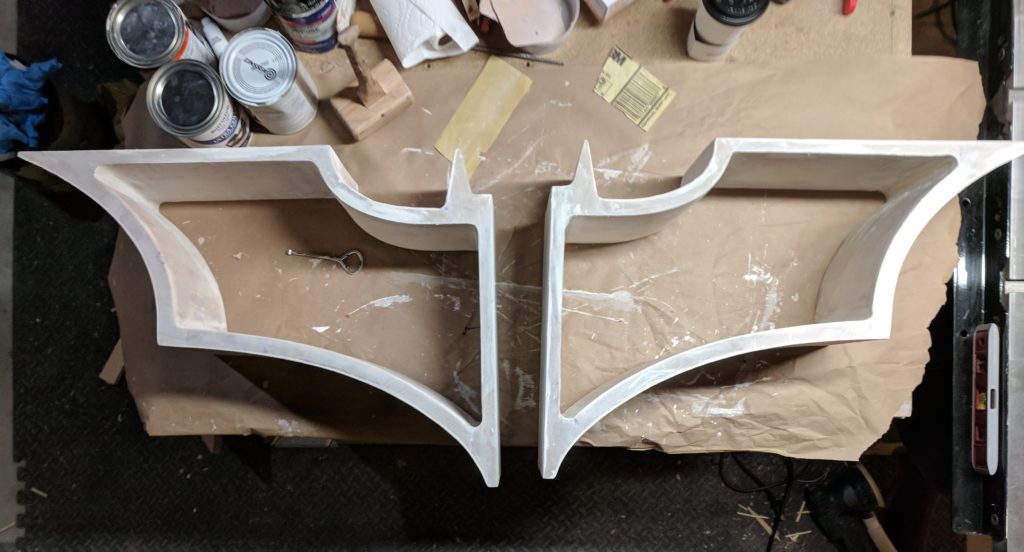
Starting to come together
Both halves Bondo’ed, sanded, and primed.

Finally it was time for painting.  It just wouldn’t be right if it wasn’t deep black.  Four coats of paint were applied using a foam roller.  The roller left a nice “orange peel” texture, giving the shelf an almost metallic texture as well as hiding imperfections.
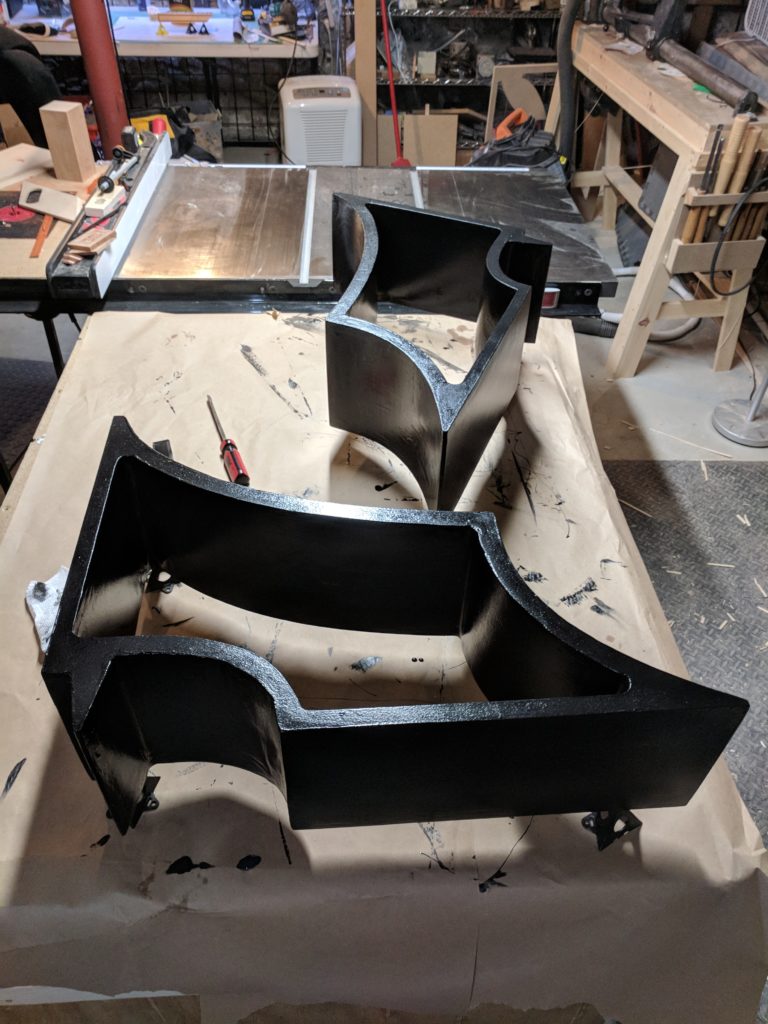
Back in Black
Watching paint dry.

The customer was very excited to see the Batman shelves!
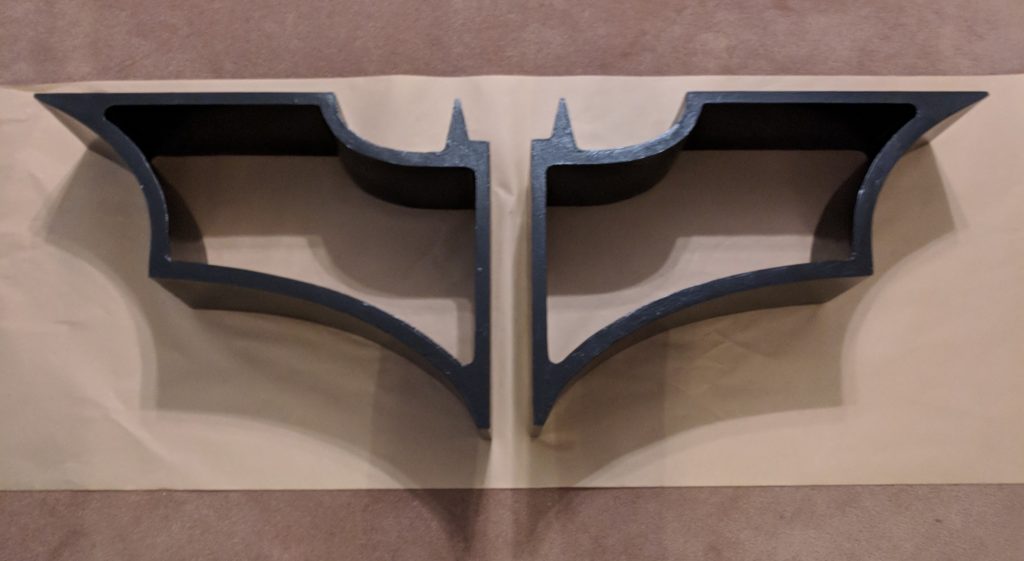
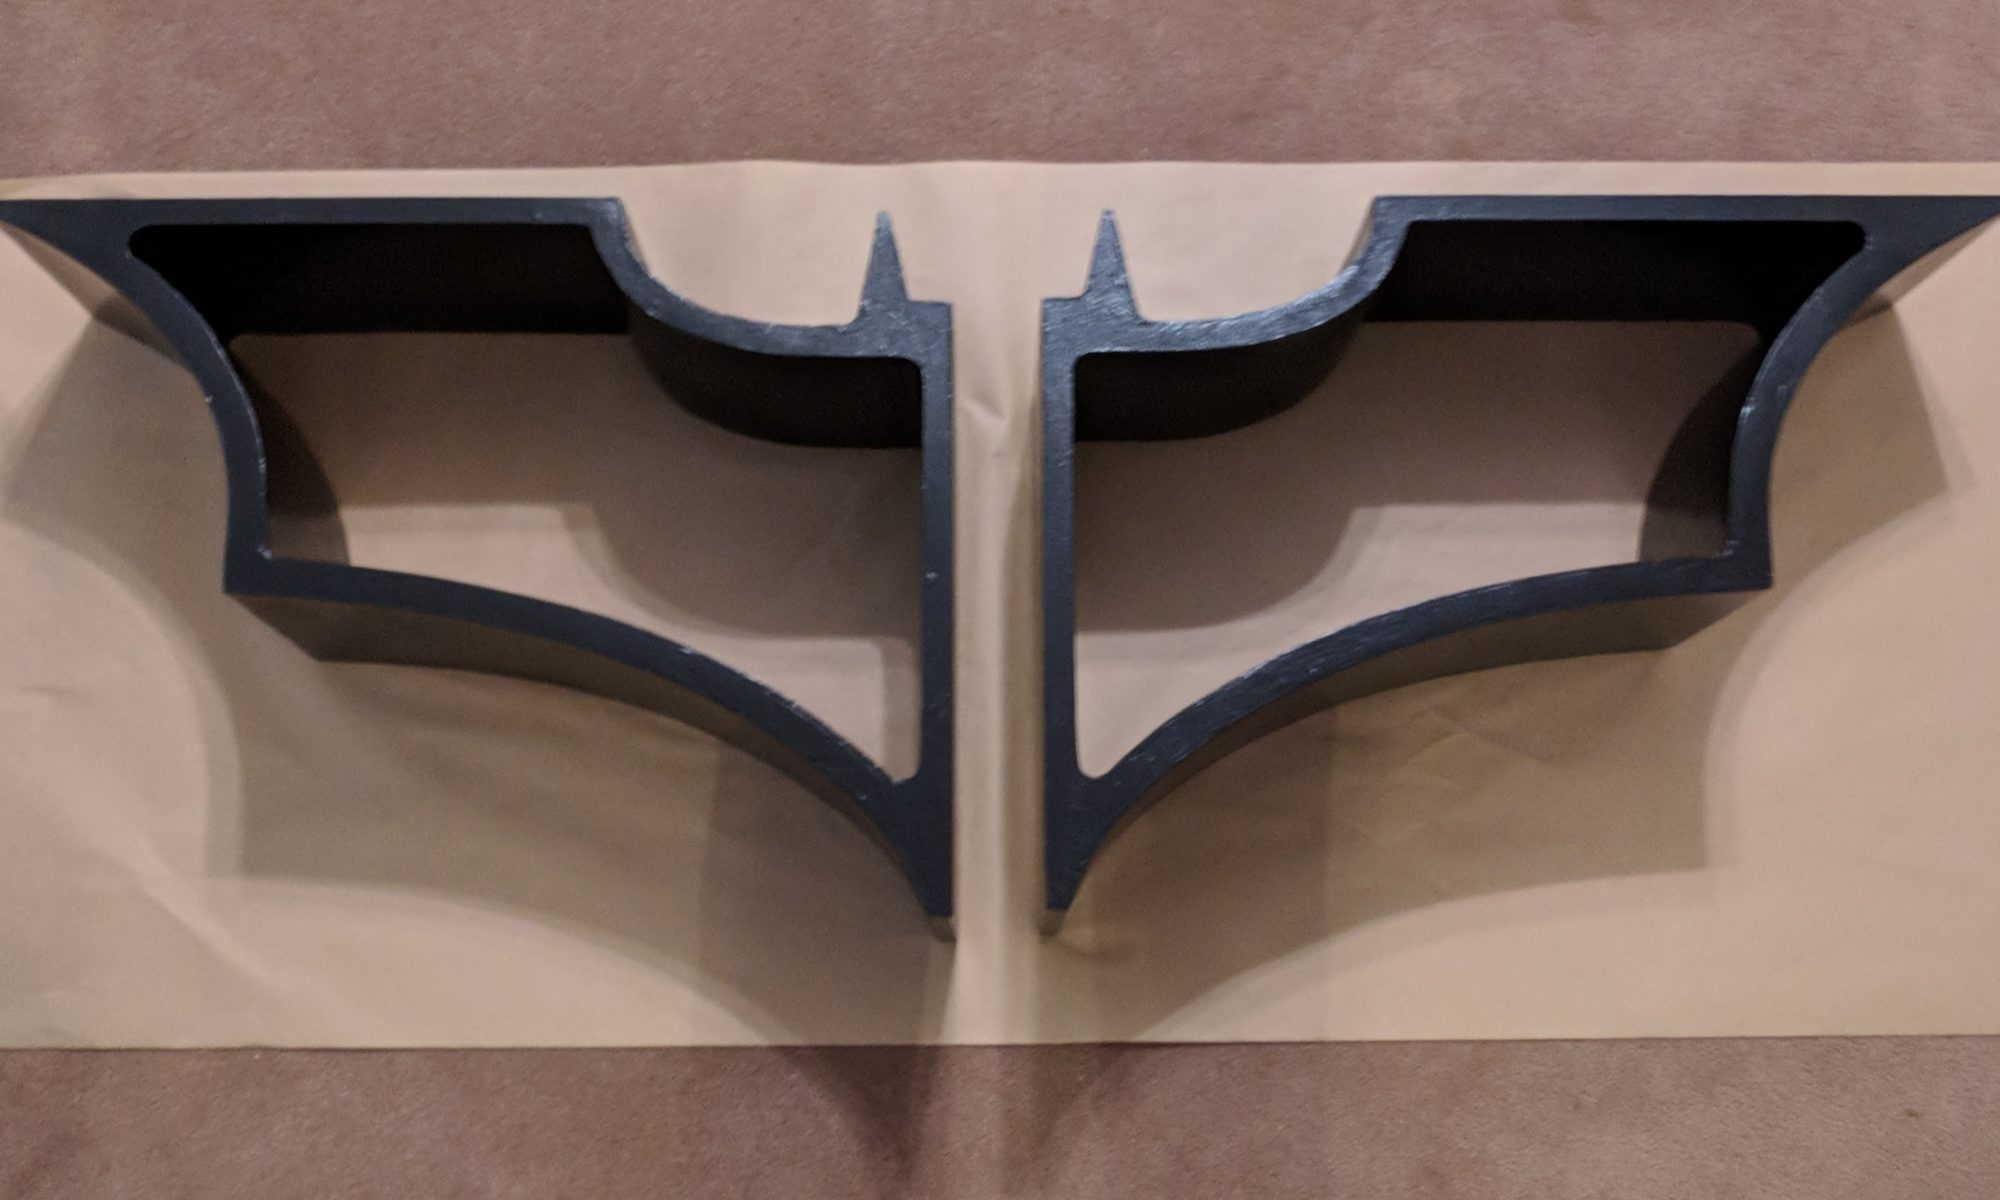
Done
After a lot of work, they came out great.

I am very curious to see how this looks loaded up with books on a wall.
 

Winter Cutting Board Series

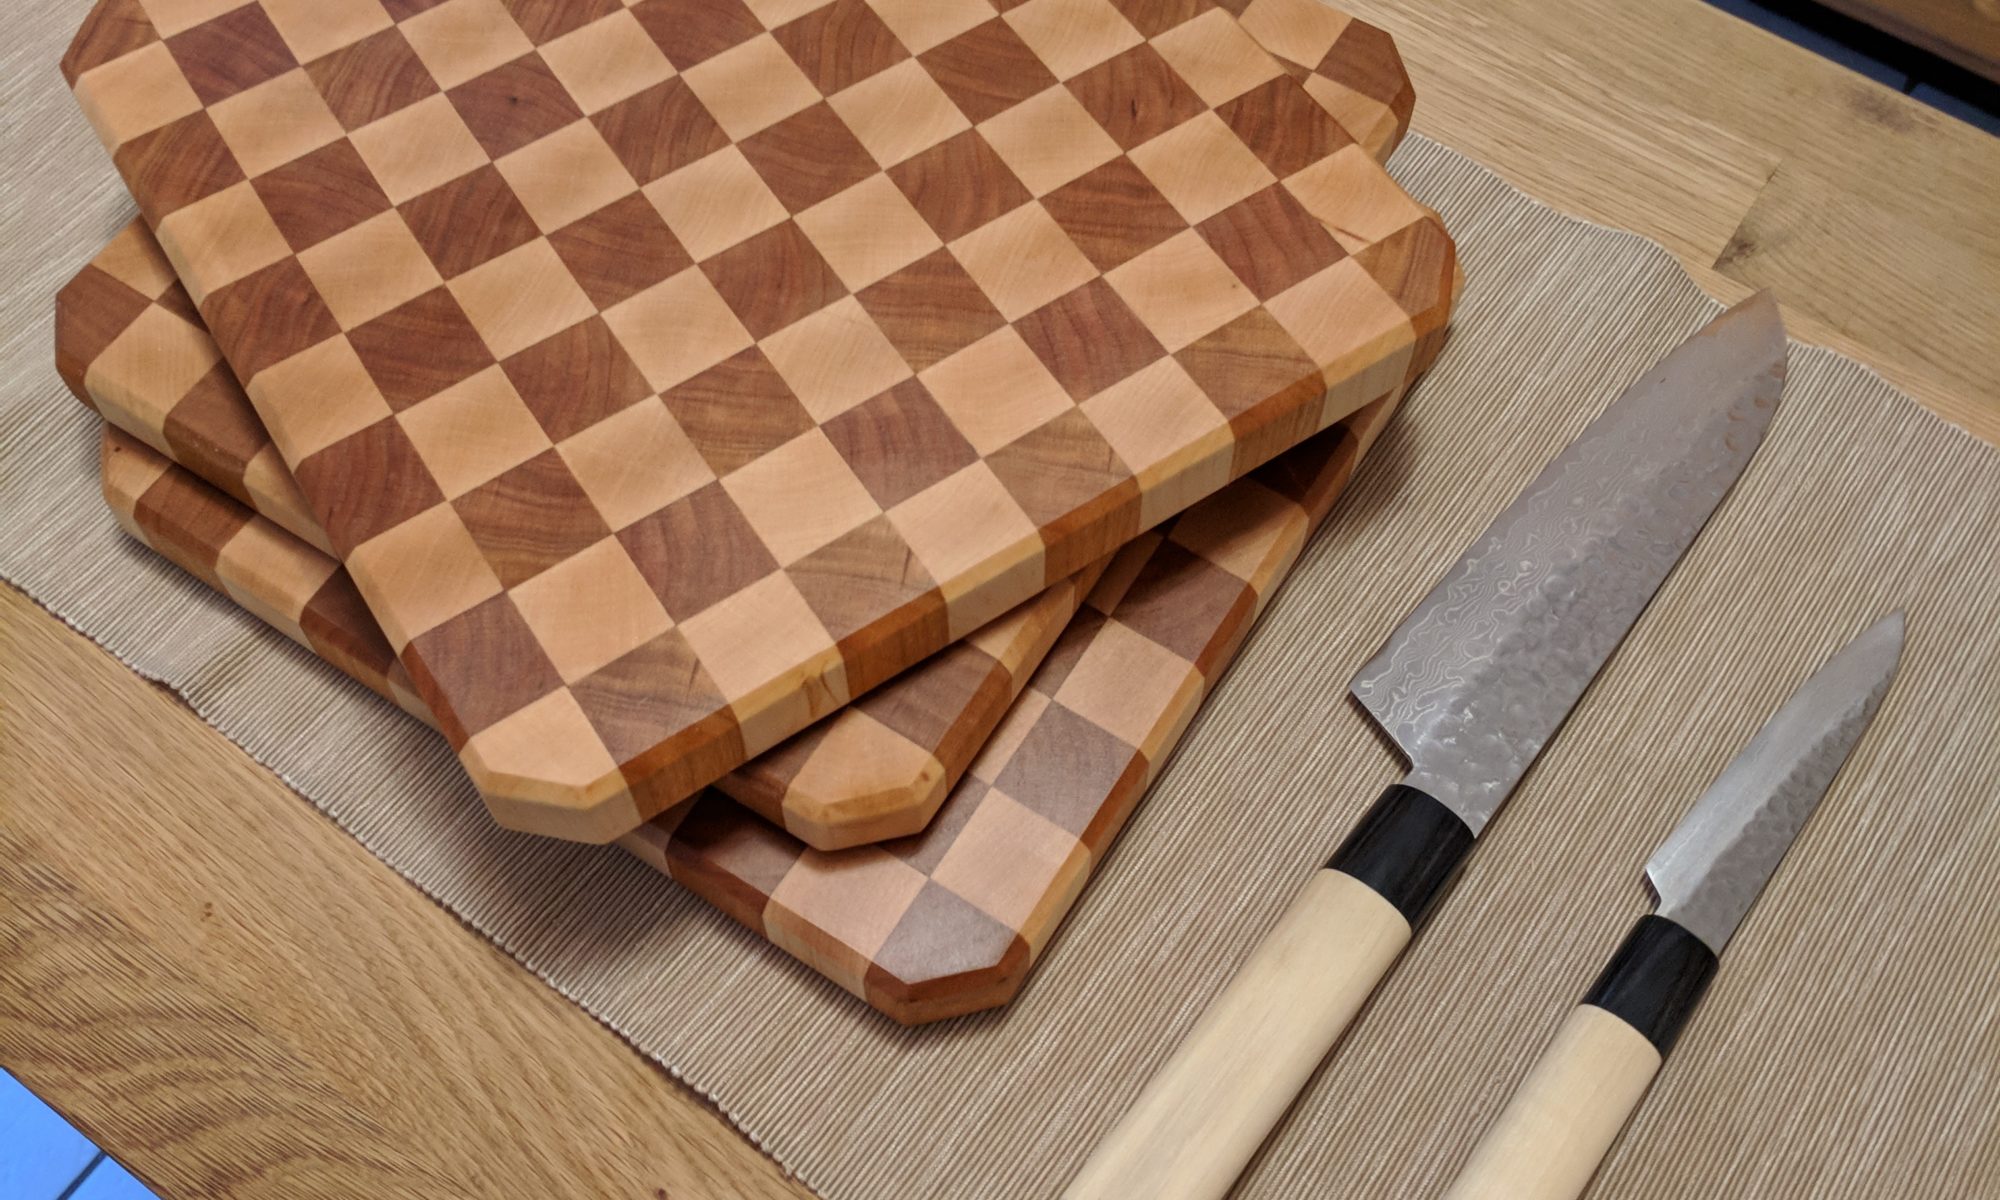
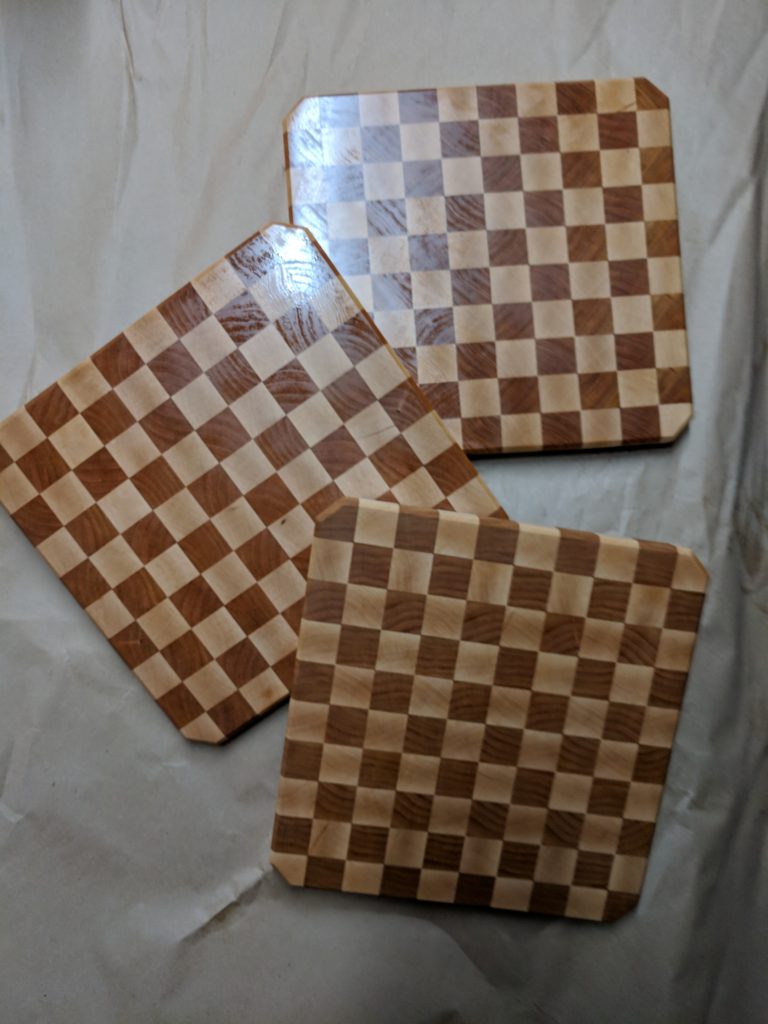
Completed Checkered Boards

This winter I decided to start producing a variety of cutting boards to have in stock for the holidays.  I just completed the first pieces in that batch and posted them on my Etsy store.

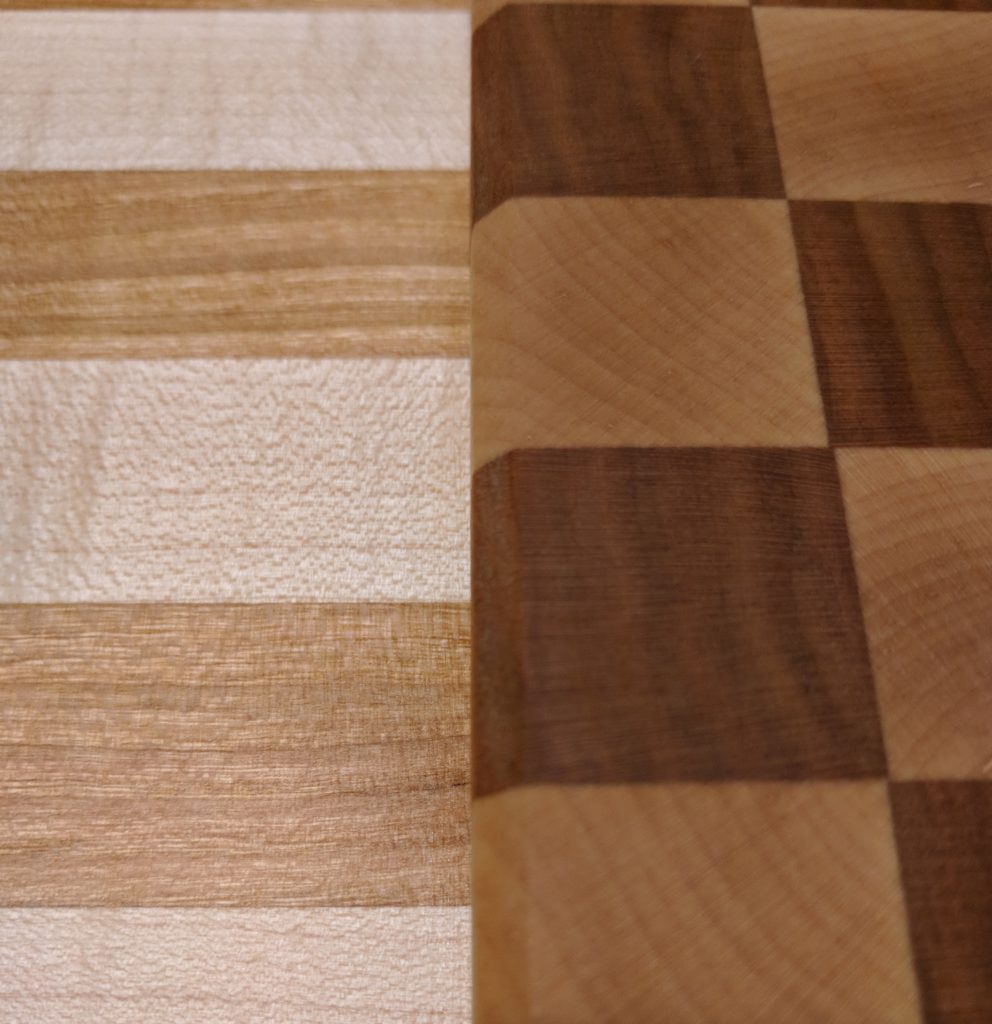
Cherry and Maple, Checks and Stropes
Comparison of striped and checkered cherry and maple boards

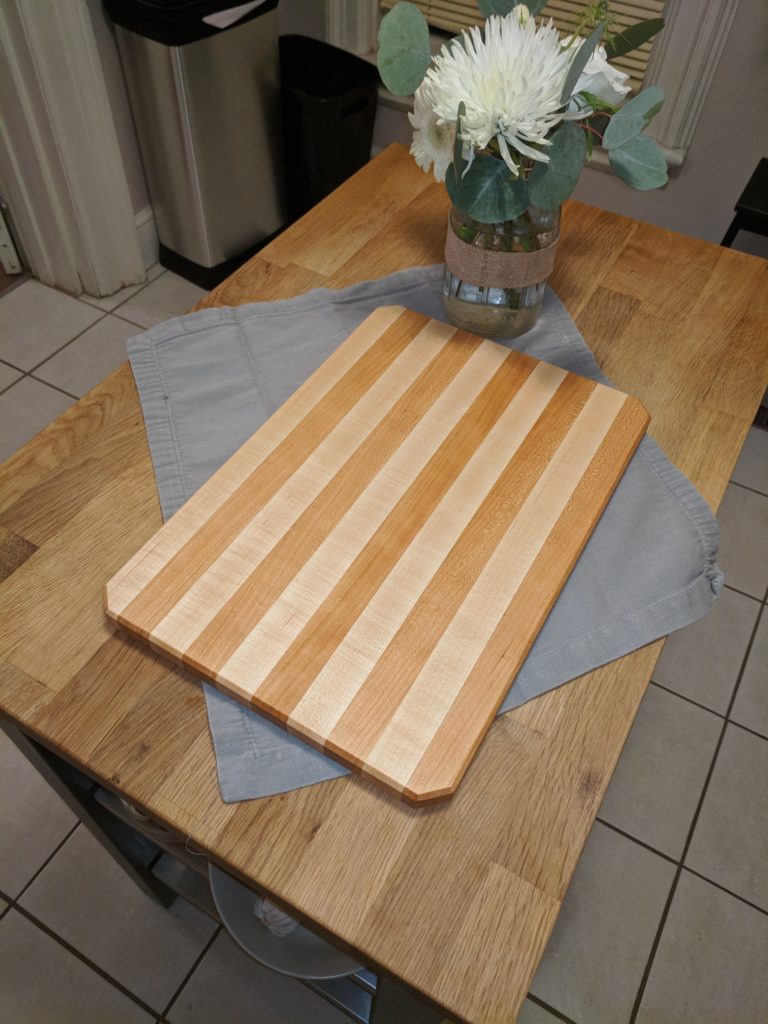
I chose to make both striped and checkered boards (the striped option being much easier to make).  I chose maple and cherry for their contrasting colors and their toughness.  With these hardwoods, the boards should last for years with little wear.

The first step in the process was to mill the lumber.  Both the cherry and maple started off as S2S 5/4 lumber, with rough edges and planned faces.  I jointed the edges, and ripped the boards to 1 inch wide. 

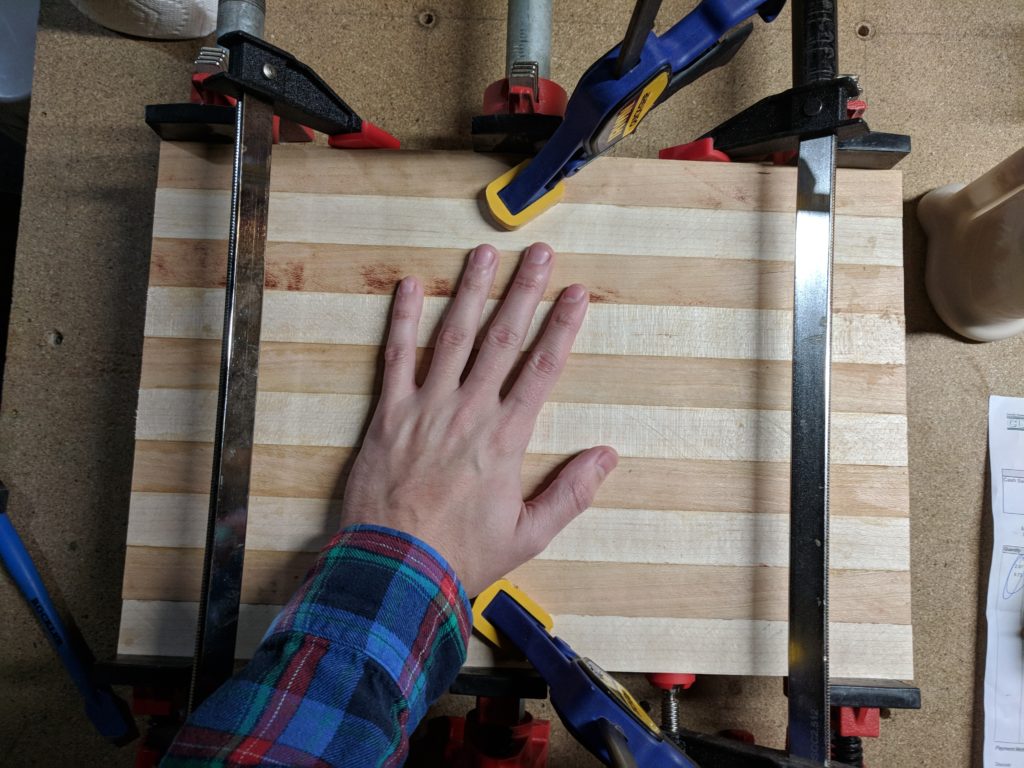
Both the striped boards and checkered start off the same way, the 1 inch stripes are cut to length, rotated, and glued face to face.  On the stripped board, the length is simply the length you want the final board to be.  The stripes end up being the thickness of your original board, with the board the thickness of your rip cuts.

Clamped up striped board
Clamped up striped board (hand for scale)

The checkered board takes a bit more thought.  The length you cut the ripped strips to needs to be the thickness you’d like your final board to be, multiplied by the number of checkers you’d like to end up with (plus some allowance for the kerf of the saw).

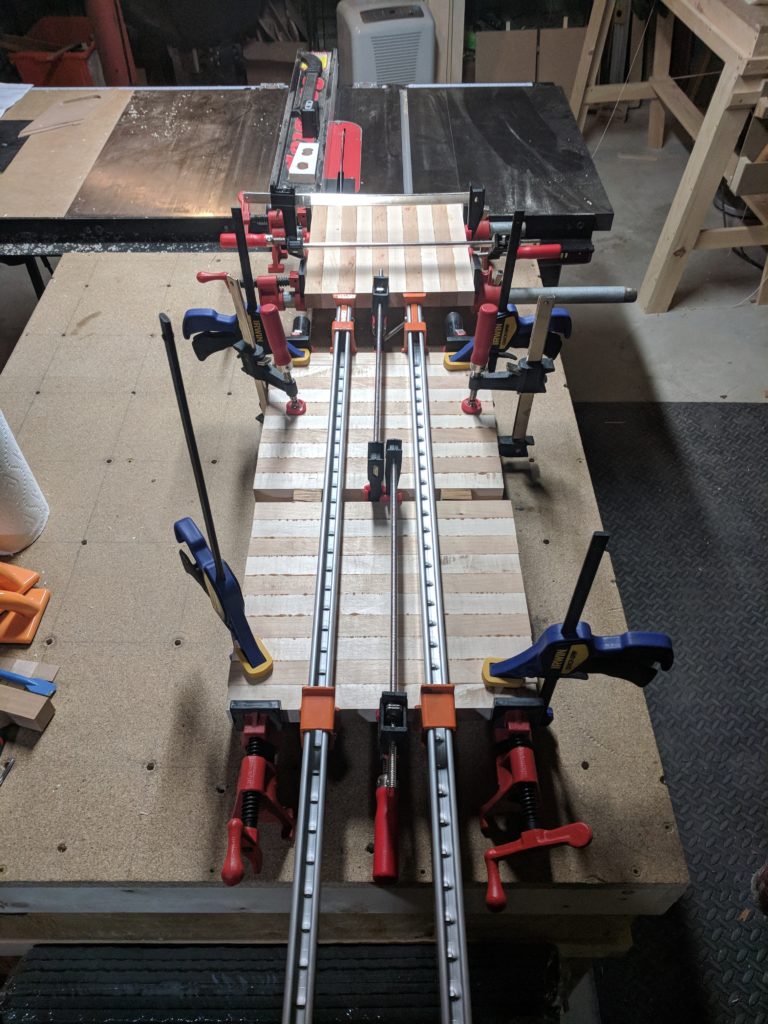
Checkered initial clamp up
Clamping up blanks for the checkered boards, three at a time.

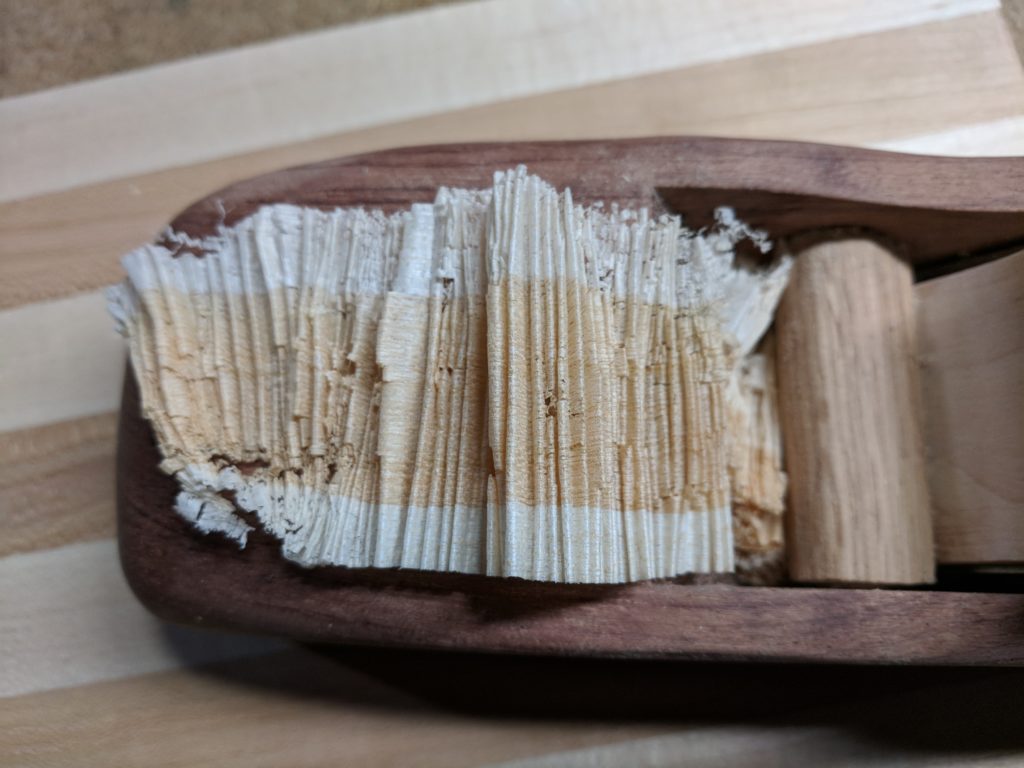
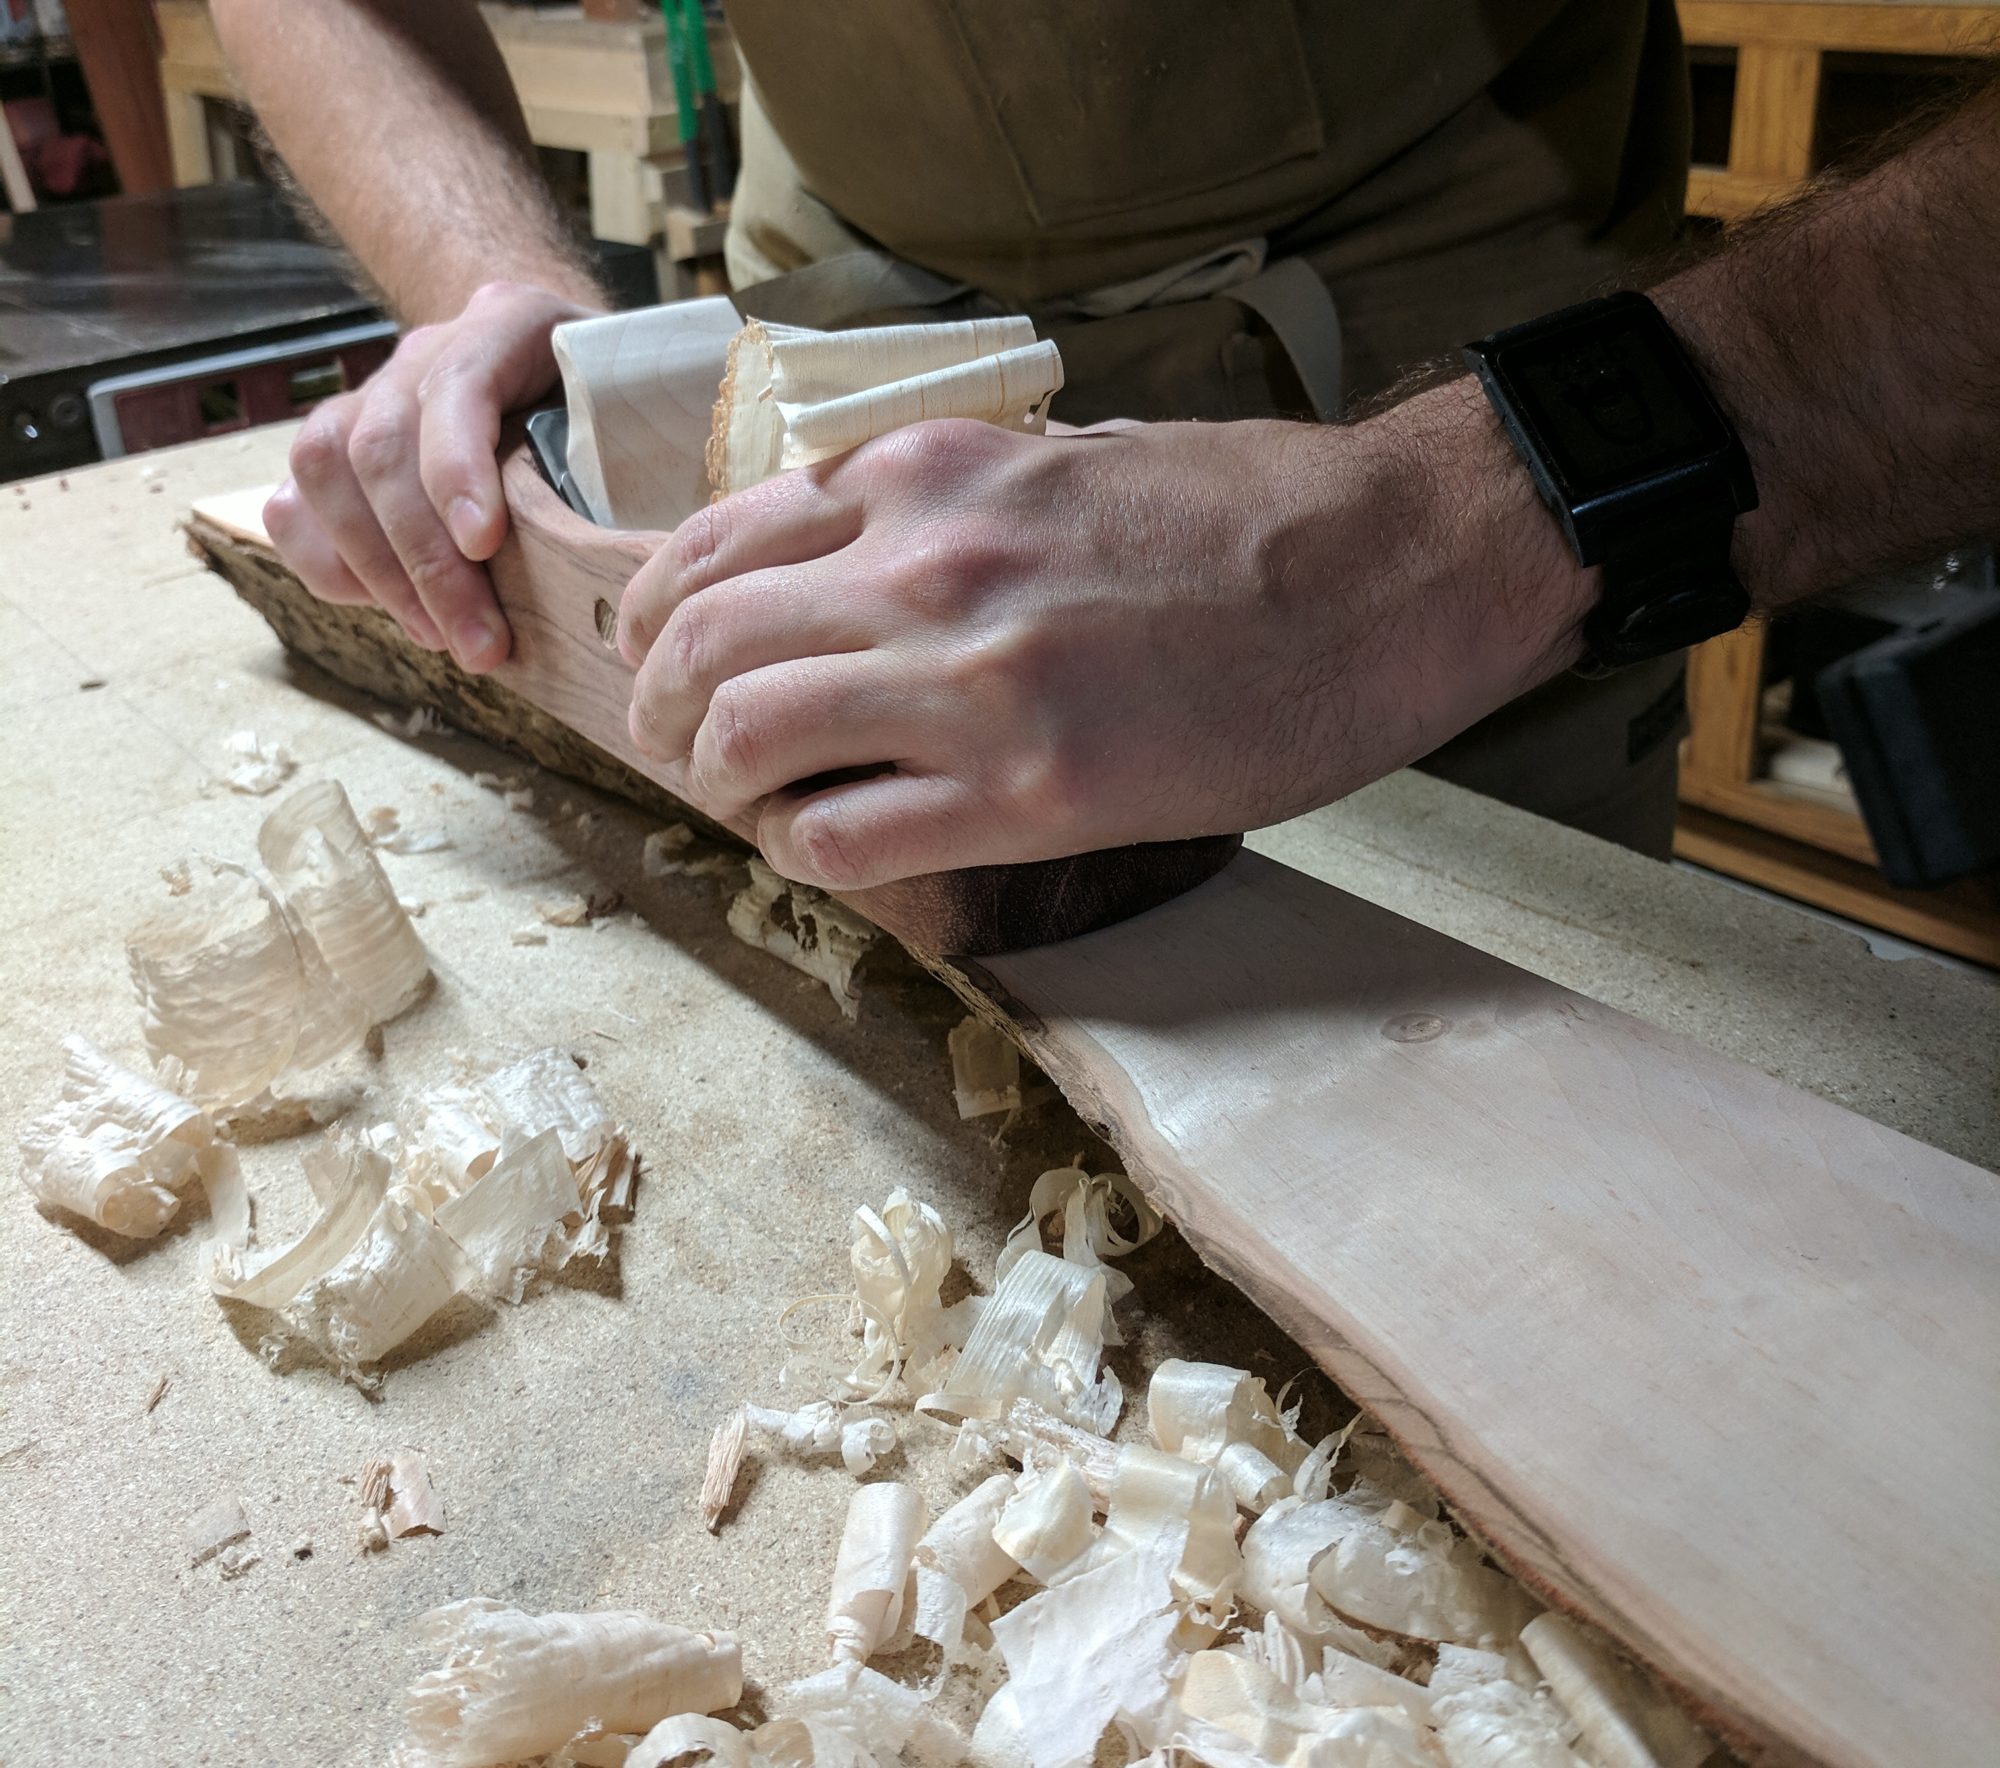
With the striped board, after the glue up, the board is generally done.  It’s run through the planer to remove any slop in your glue up.  In my case, I didn’t take great care in planing it, and ended up with some snipe.  This gave me an excuse to break out my hand plane, and flatten out the snipe.

Hand planed stripes
Hand planing out the snipe. Going over the striped surface produces interesting shavings.

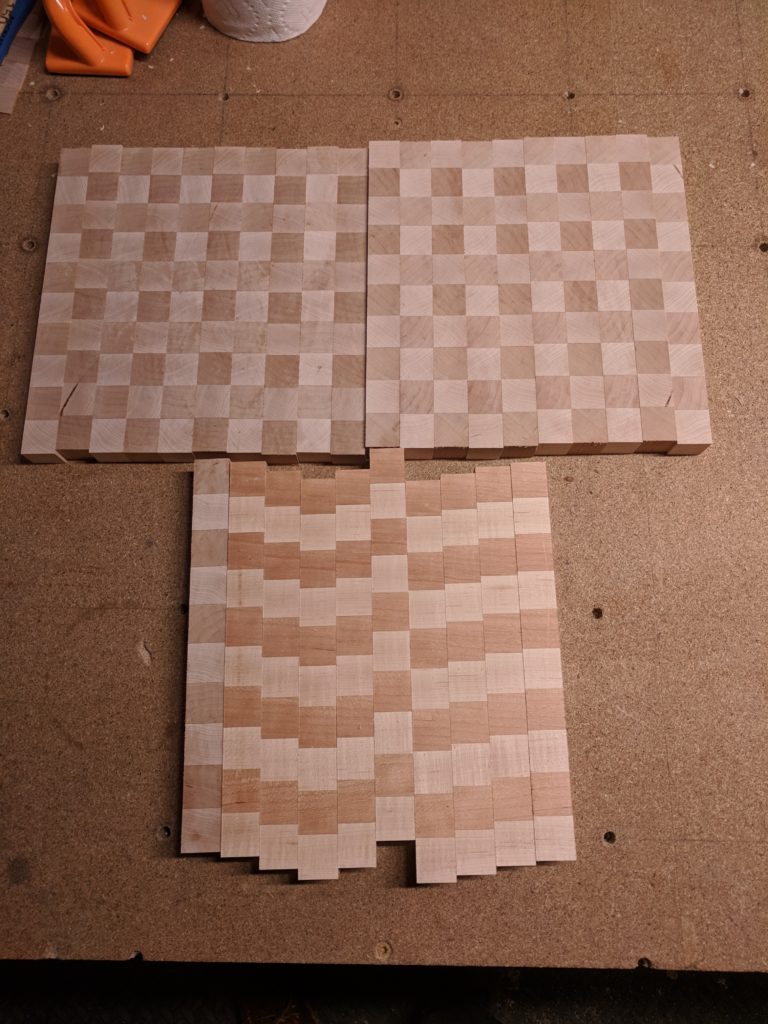
On the checkered boards, you need to cross cut the striped glue up at the thickness you’d like to end up with.  End grain glue joints are very weak, so they must be avoided.  This is why you cut the cross cuts to the thickness, rather than the width, you want your stripes.   Each cross cut is rotated, and every other one is flipped.  This way each piece ends up being glued edge to edge rather than end to end, producing the final checker pattern with end grain visible on the final surface.

Checkering layout
Laying out the checkering and exposing the end grain.

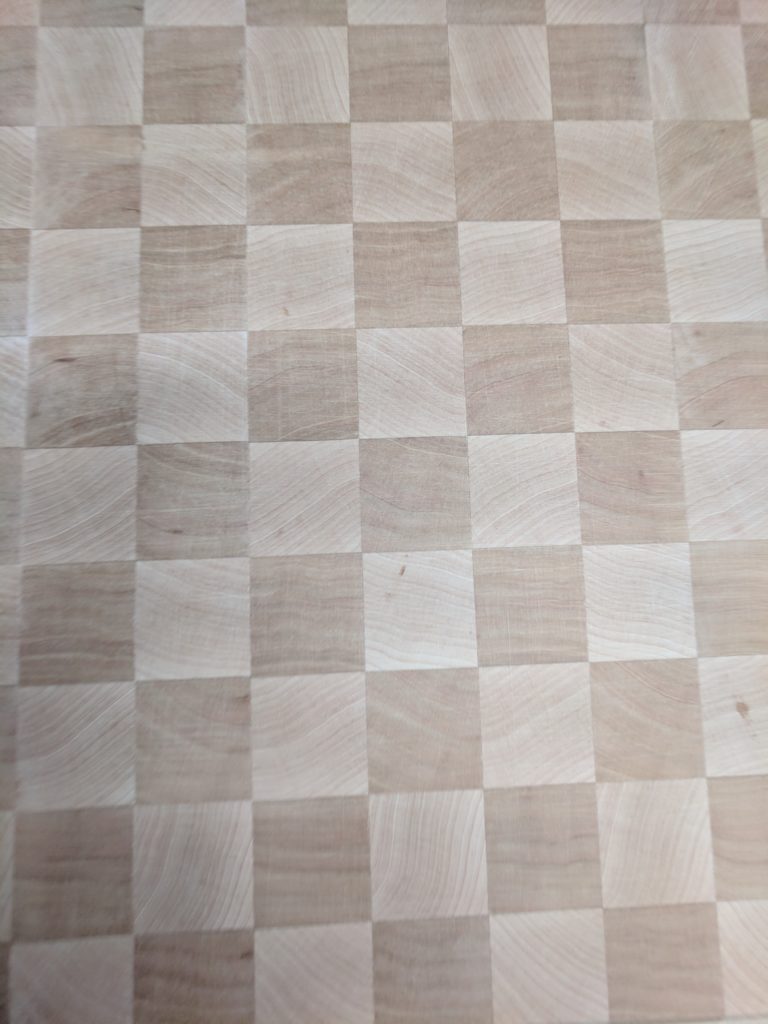
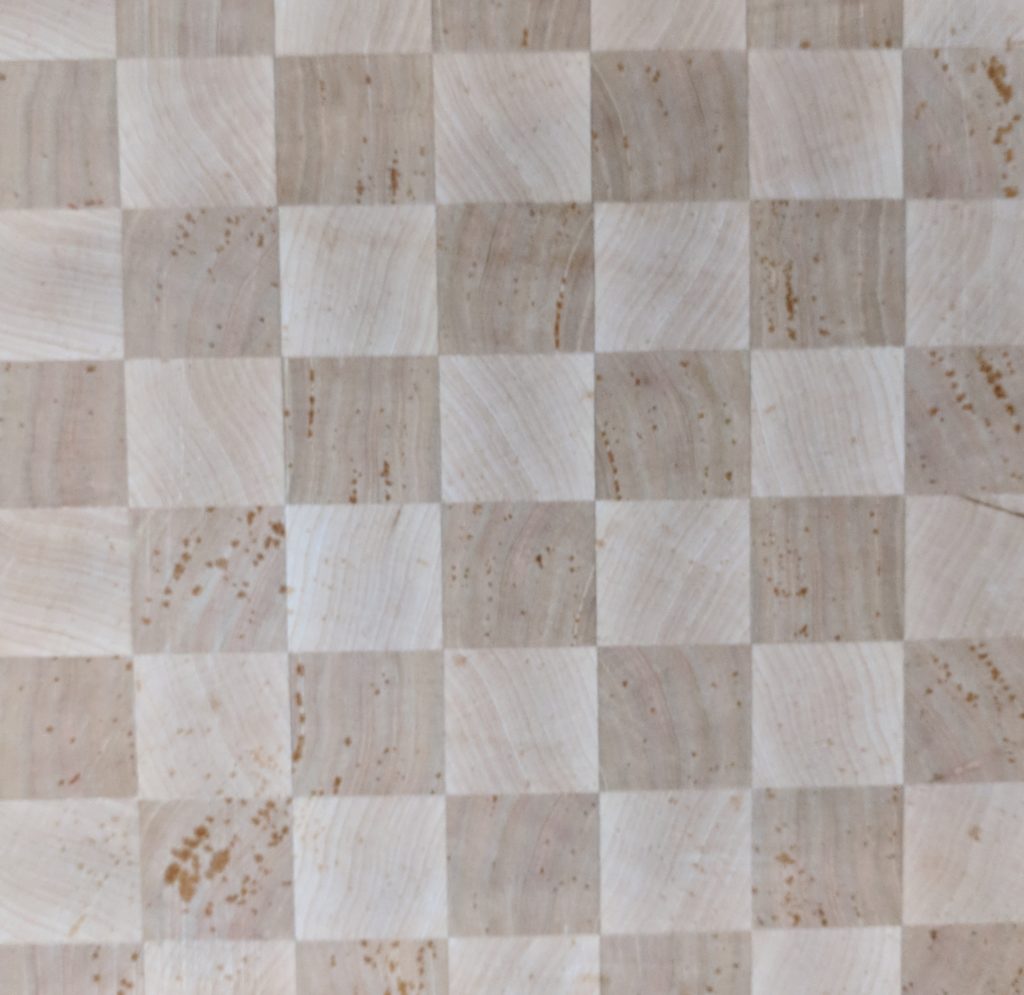
The end grain faces of the final glued up boards require a lot of finishing work.  End grain can be very dangerous to plane, so I needed to use a belt sander.  Belt sanding leaves noticeable marks, so after belt sanding a random orbital sander is used, moving though the grits until all the marks are gone and the surface is glassy smooth.  A lot of care is needed to make sure the boards remain flat through the process.

Unfinished checkered surface
Sanding board surfaces, working up in grit.

I finish all my boards with mineral oil.  A liberal coat is applied to the boards, and allowed to soak in. 

Finishing with oil
Applying oil to the boards.

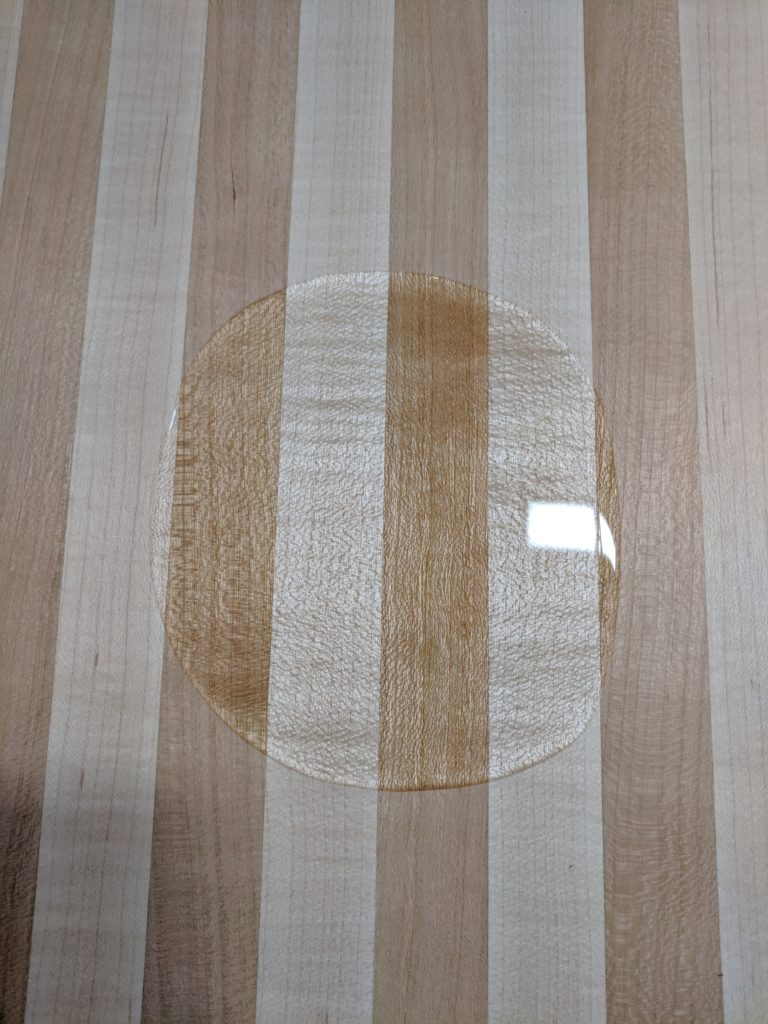
On the end grain boards, I let the oil soak all the way though the grain, through the inch thick board.  This oil fills the wood pores, blocking food and water from entering the board later during use.

Oil Soaking In
Here you can see the oil soaking through the grain.

To keep the oil from drying out, a final finish of blended oil and beeswax is added.  I melt the mixture and rub into the board.  The wax addition seals everything, keeping the oil in.

Finish Soaking In
Boards layed out, freshly oiled.

Check them out on Etsy.

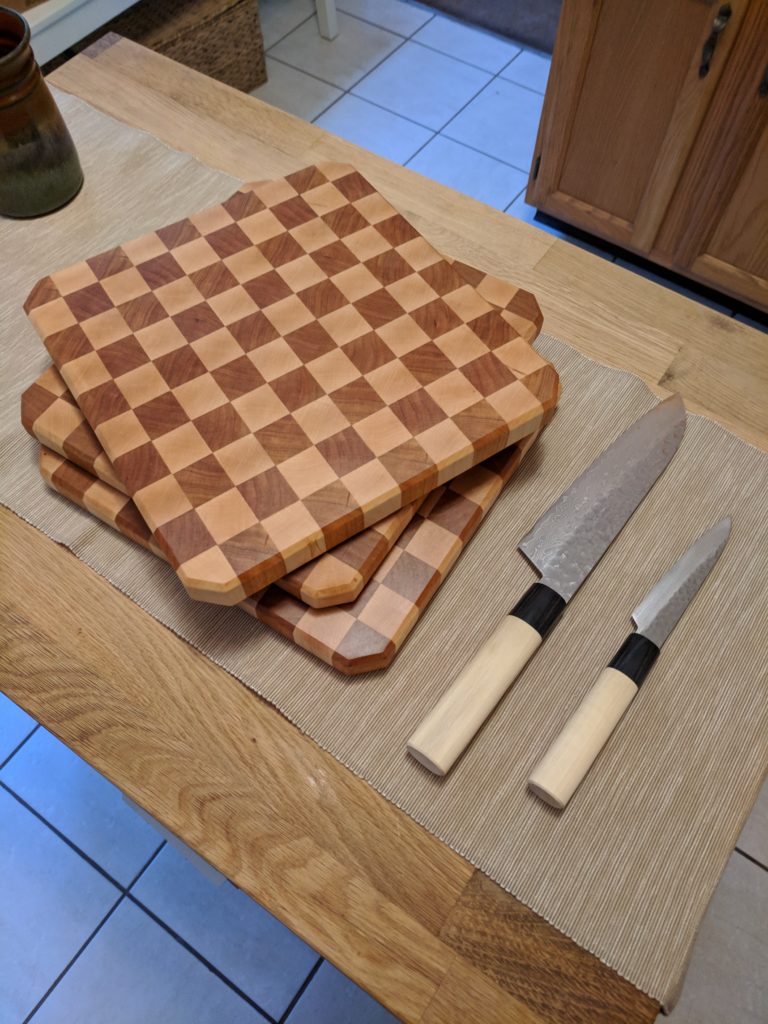
Completed Checkered Boards
Final finished checkered boards in their natural habitat.
Completed striped cutting board

Yarn and Pattern Bowl Set

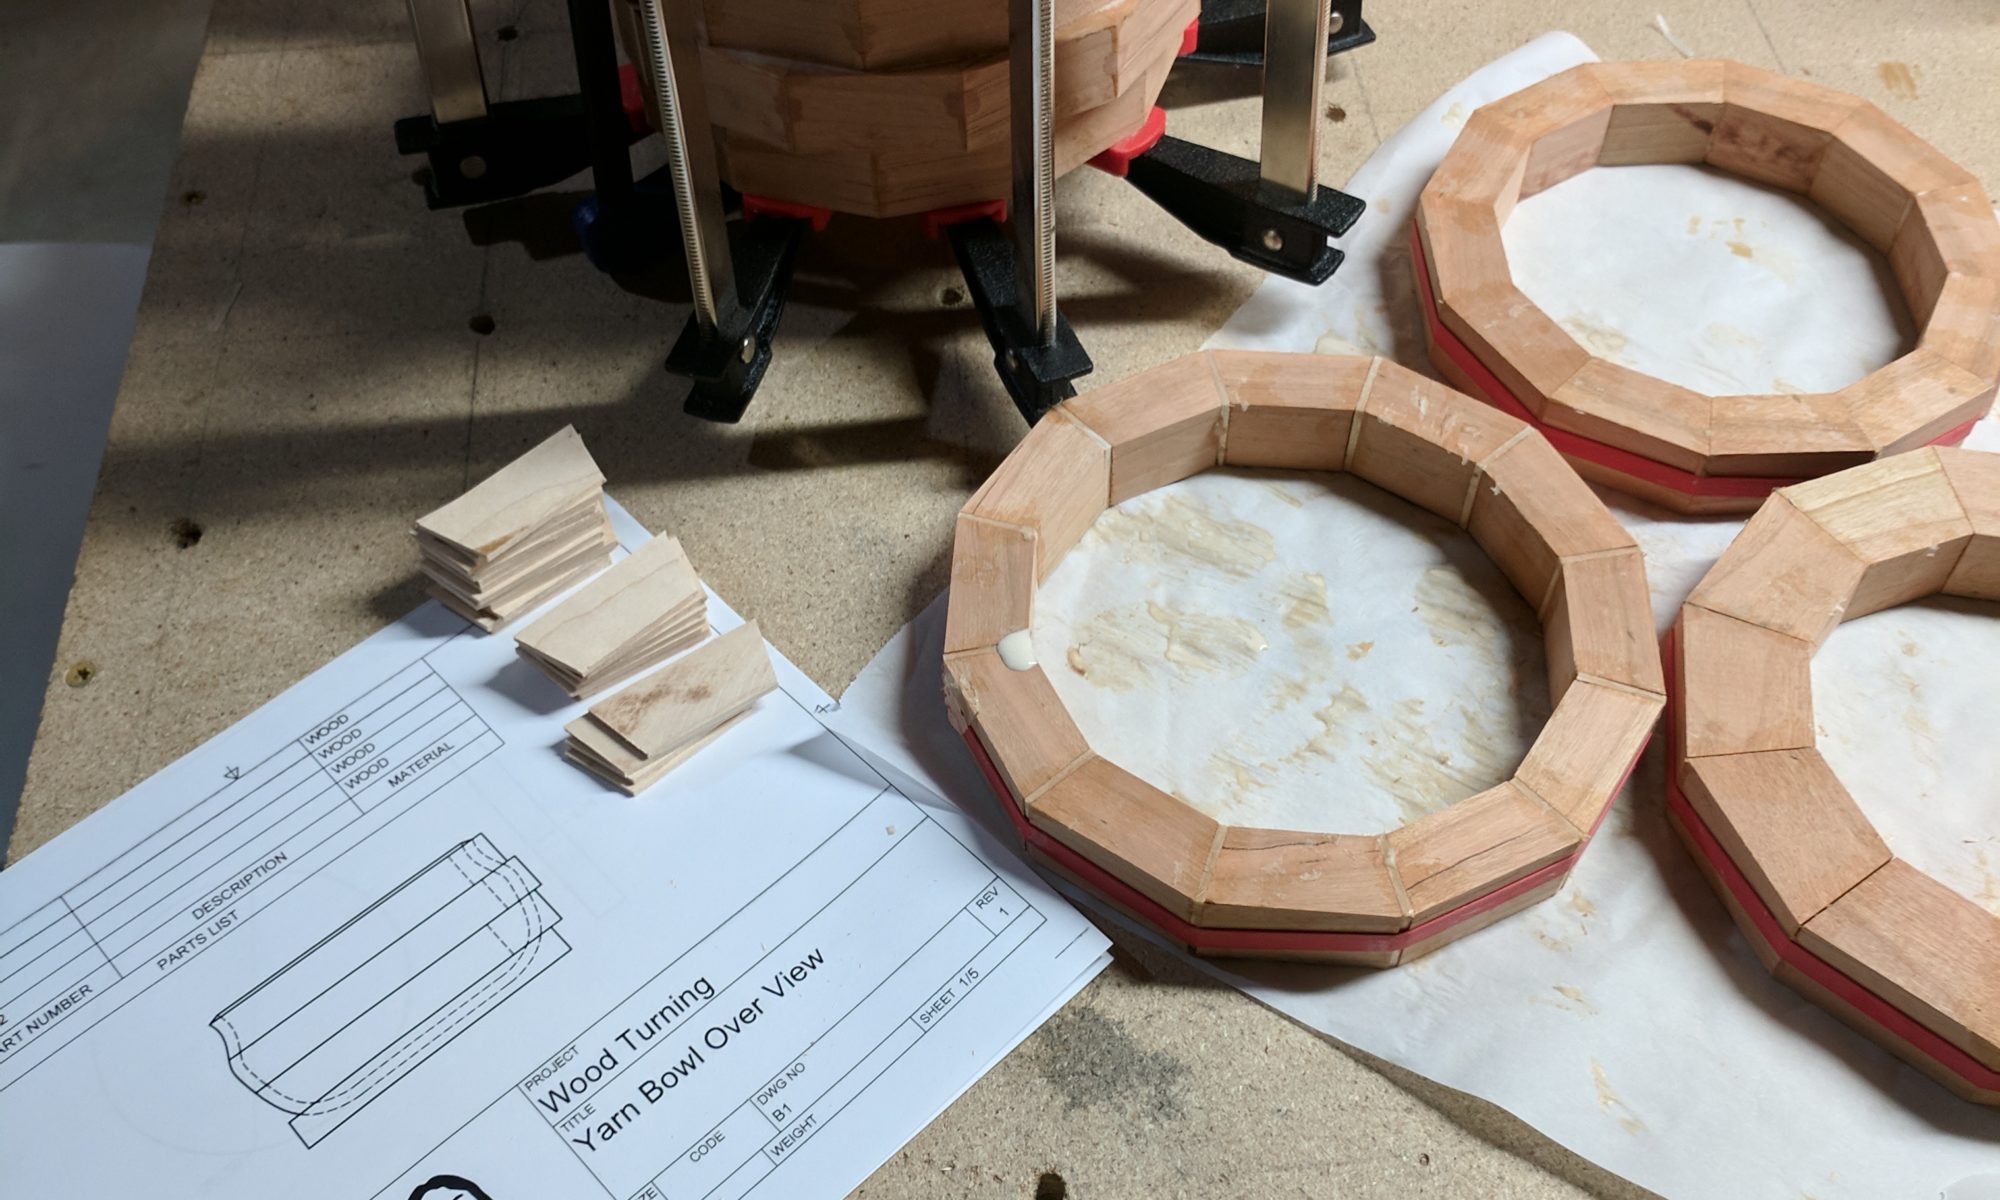
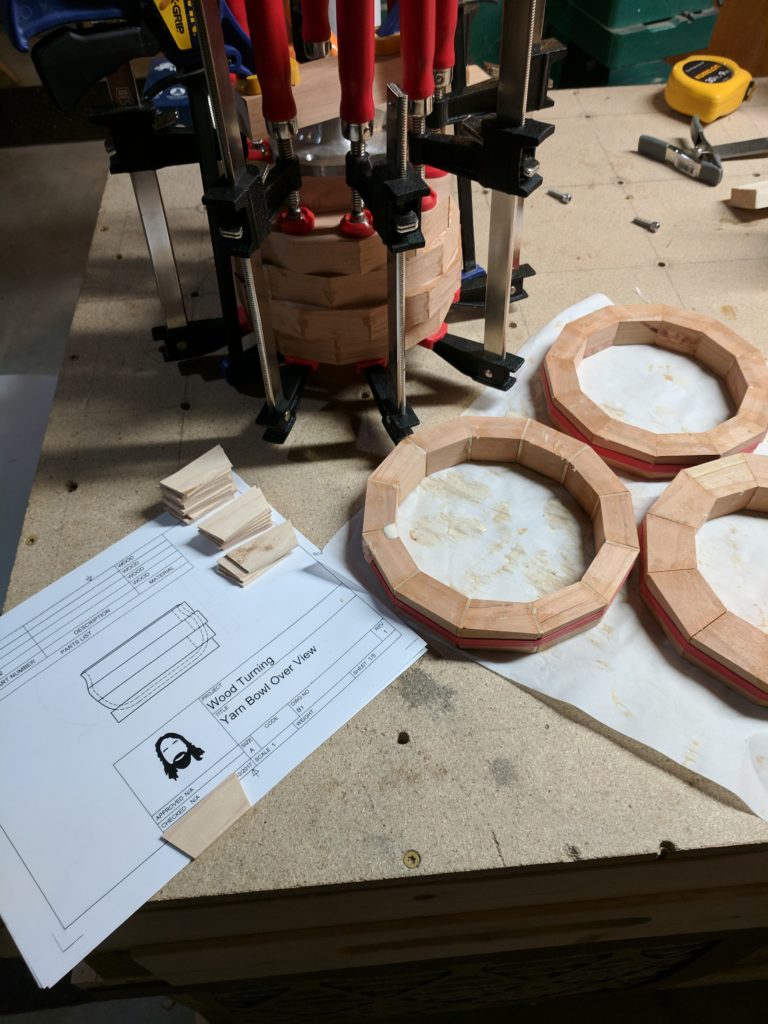
Ring Glue up

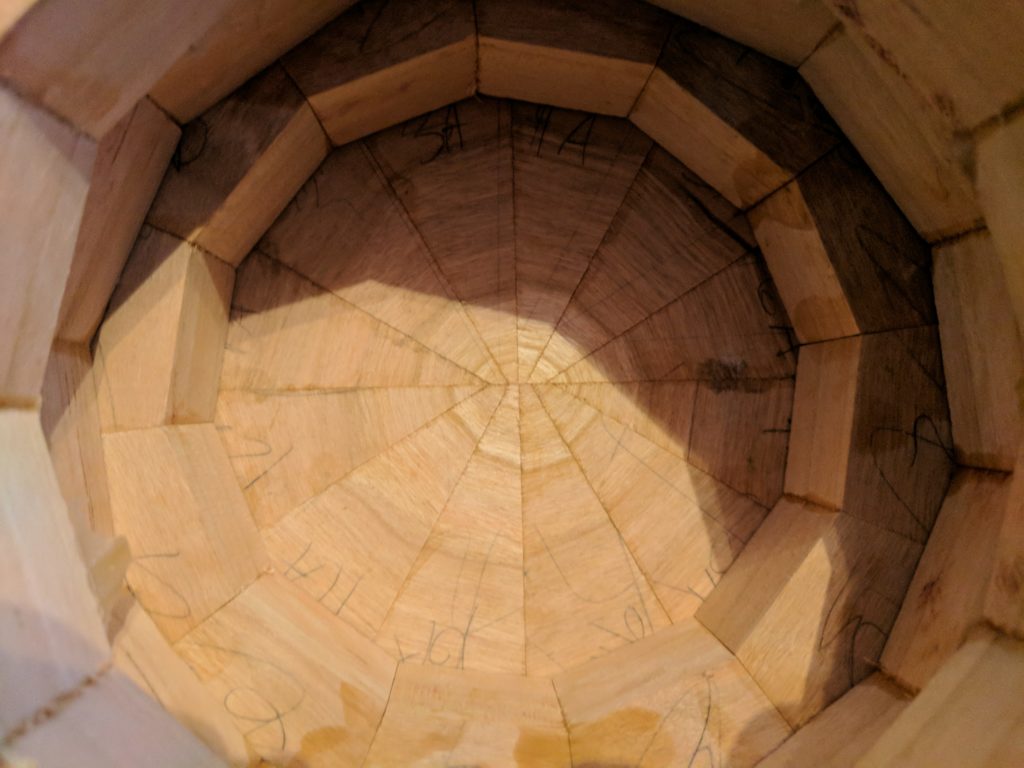
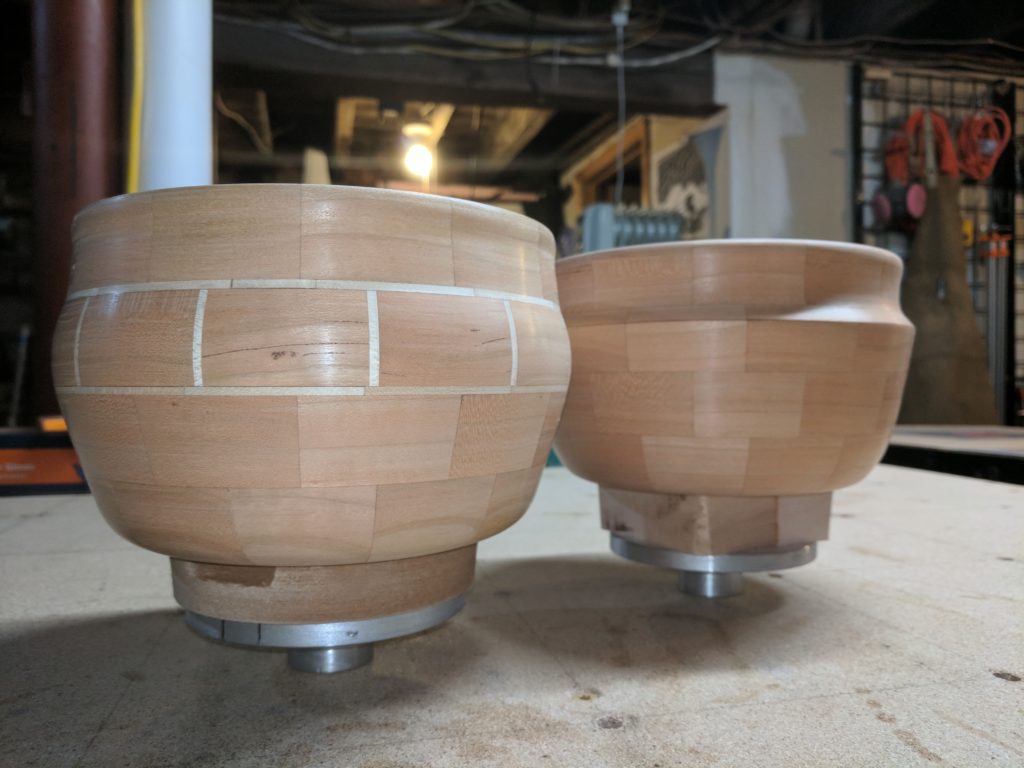
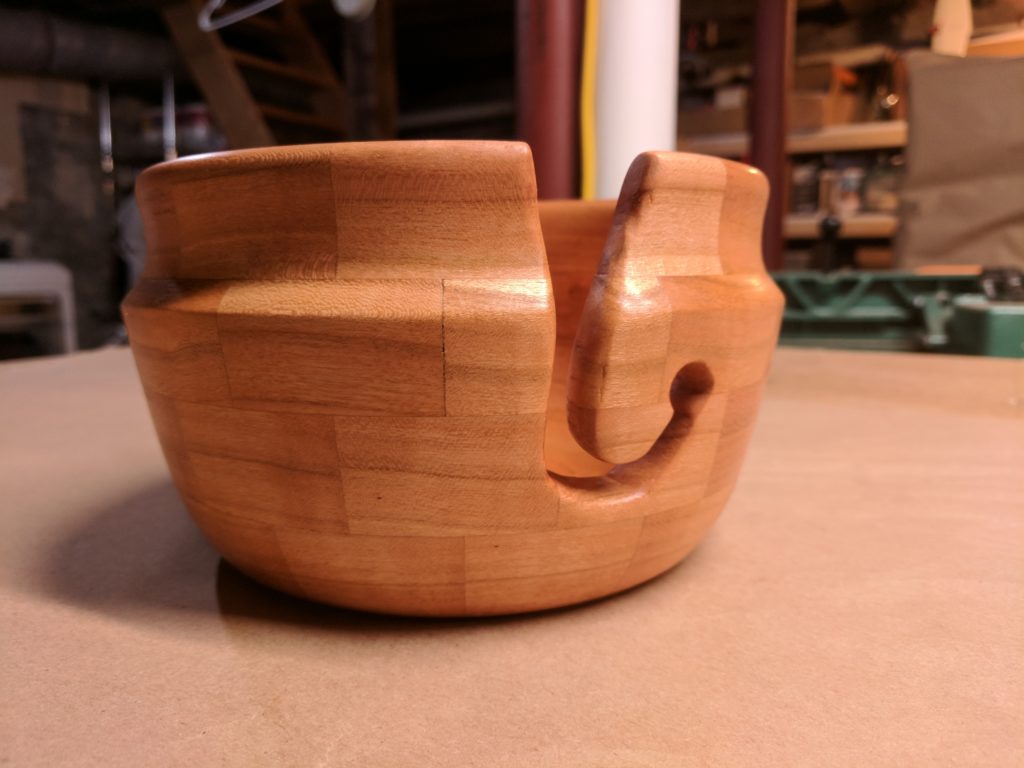
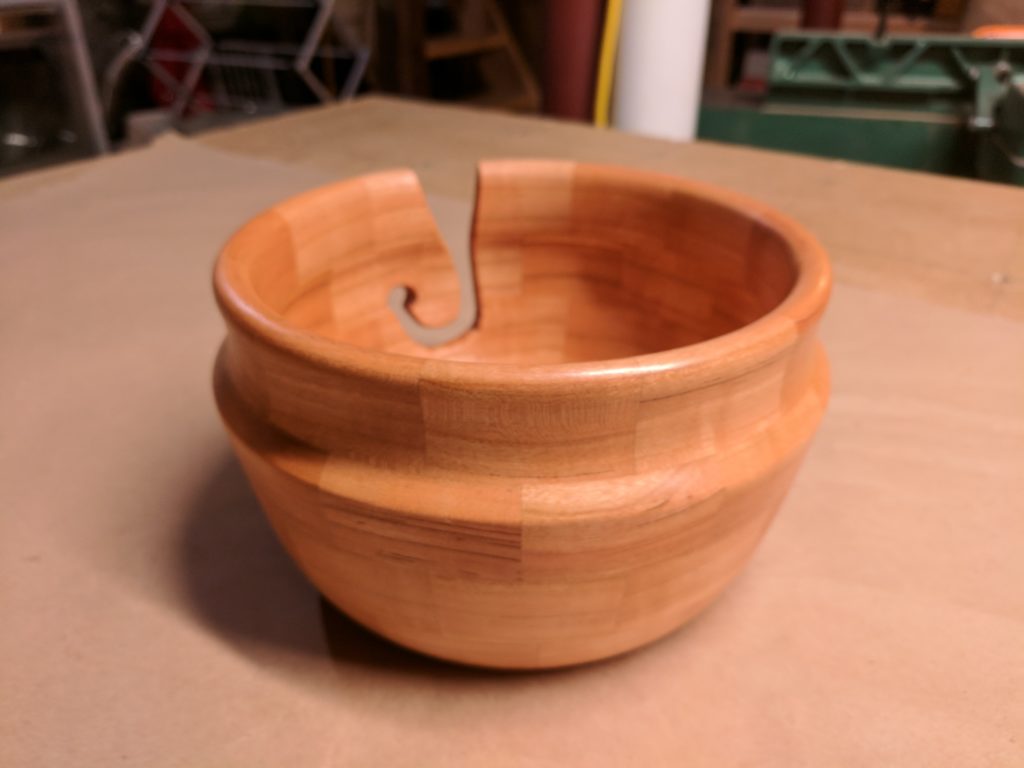
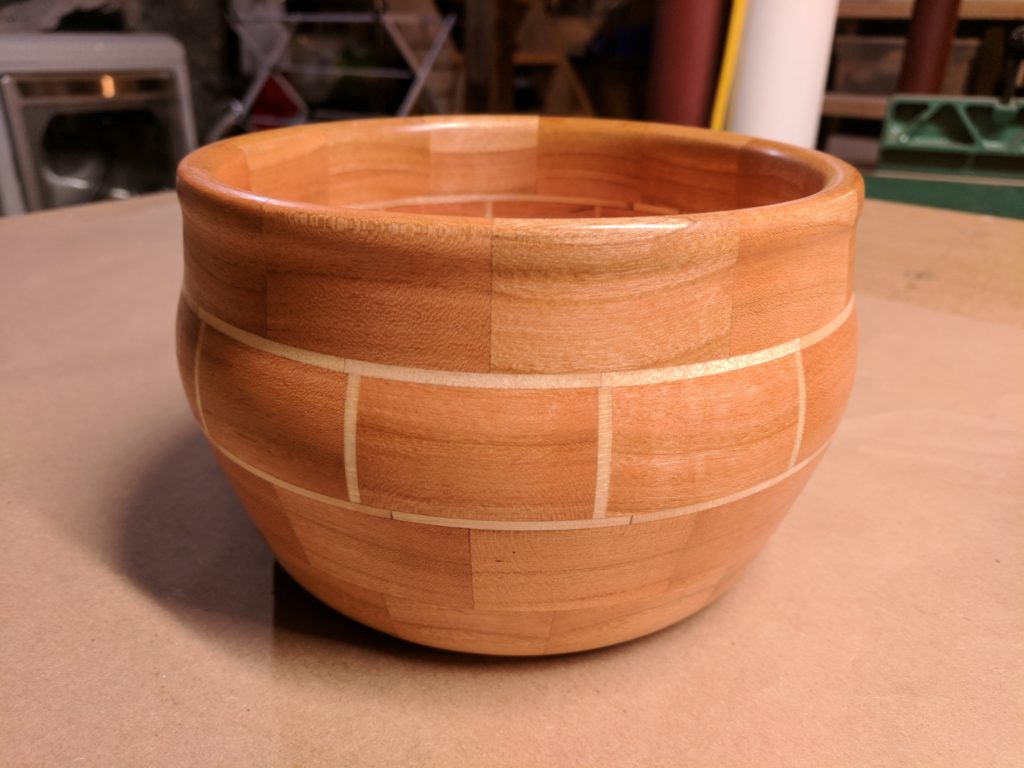
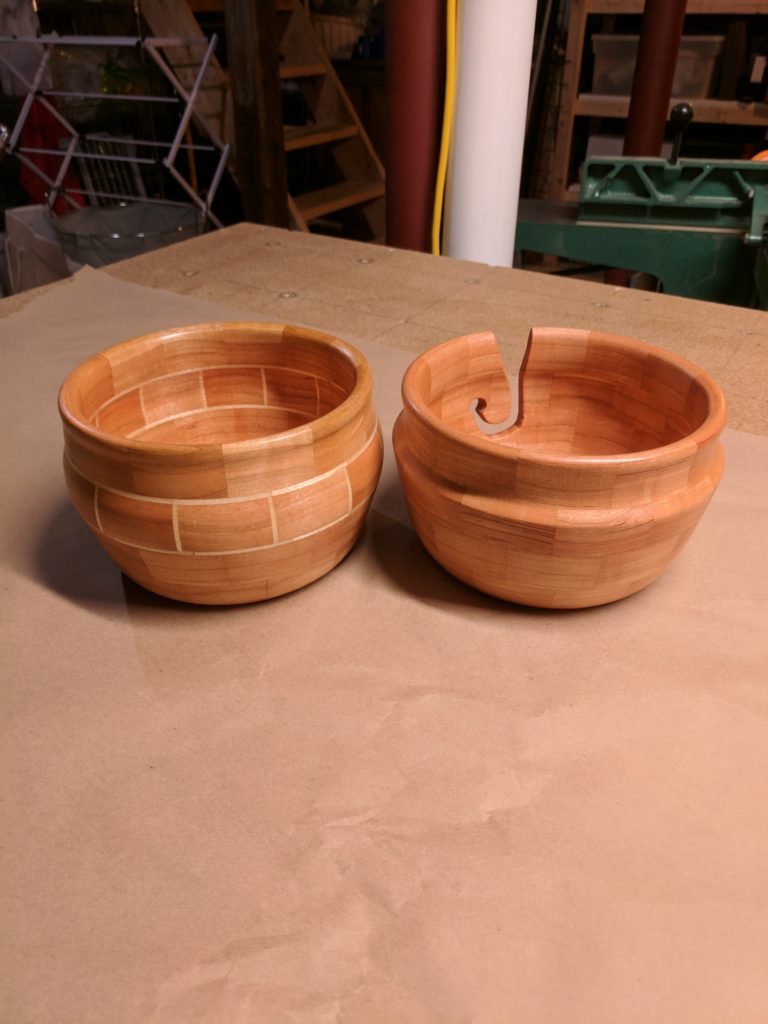
I decided to make a yarn bowl as a gift.  When planning out the bowl, I wanted the bottom surface of the bowl to have a continuous grain pattern.  To do this, the bottom was built out of wedges cut consecutively from a single board,   This produced two sets of wedges, the ones facing upwards, and those down wards.  Since I ended up with two sets I decided I should make two bowls, one for yarn and a second traditional bowl.

On segmented bowls I find it best to roughly sketch out the design in CAD (Fusion360 this time around) to make sure I glue up enough material to work with.  Throughout the process I inevitably make some deviations from the plan, but it’s good to have a starting concept figured out before launching into the project.

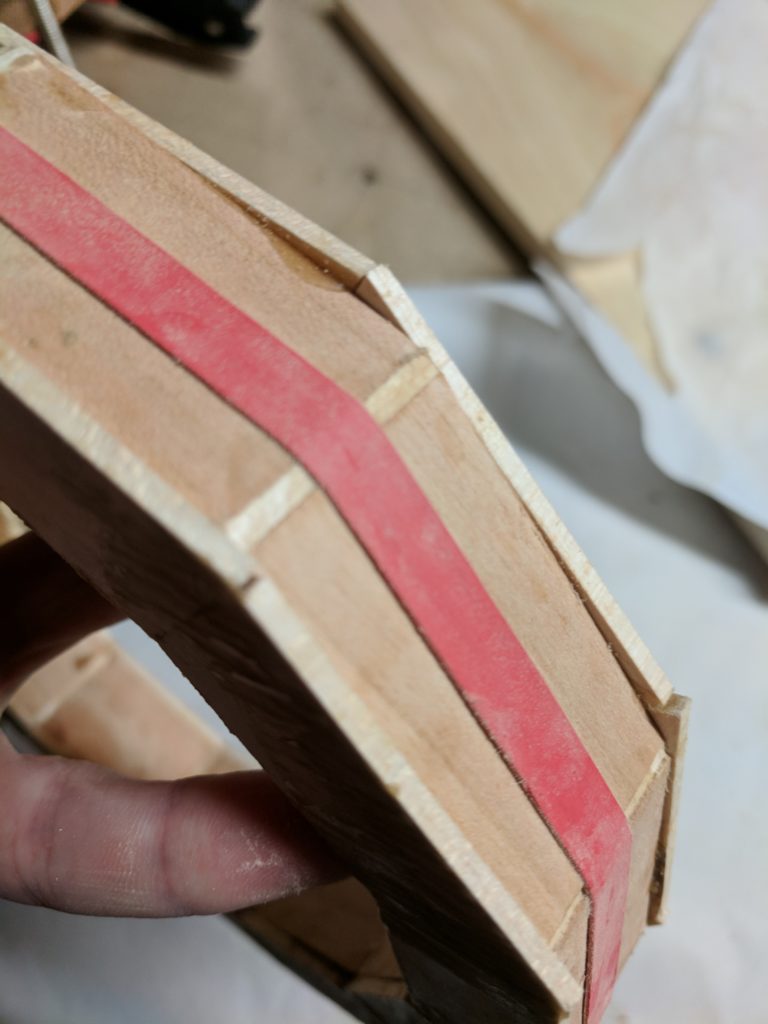
I wanted to add some interesting detail to the second bowl, so I laminated strips of maple into the glue up with the main cherry segments.  The end effect was a band of “brick” pattern through the middle of the bowl.

On the yarn bowl, the cutout for the yarn was a bit of a challenge.  I initially cut the slot with a coping saw, which produced a very rough surface.   To clean up and refine the shape I went back with a Dremel tool and some files of varying shape.  I finished the slot with several tedious hours of sanding with strips of sandpaper using a tooth flossing technique.

Both bowls have some commonality in general size design and method, with a nice variation in use and details.  I’m happy with the set, and the gift was well received.

Krenov Hand Plane

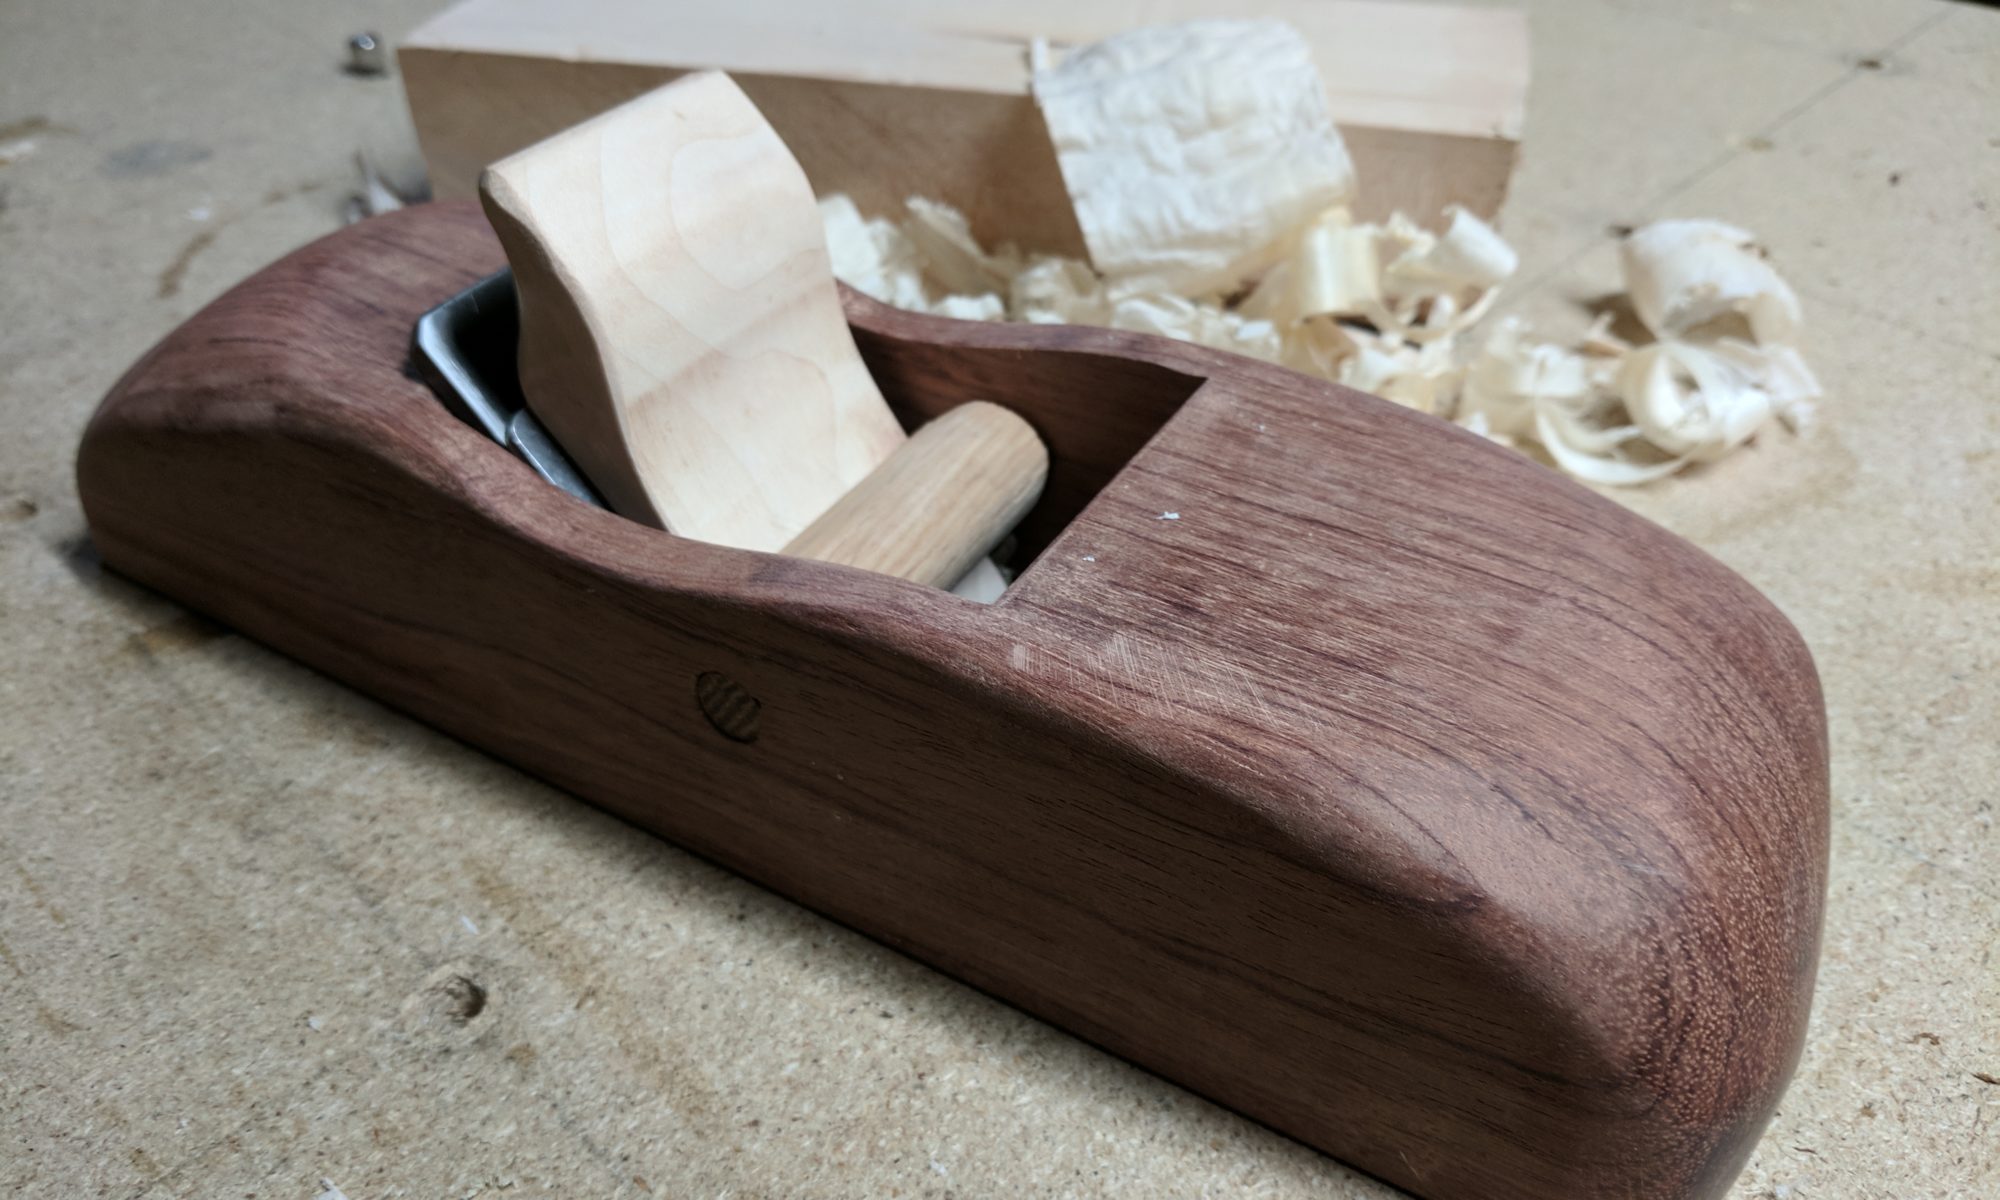
Hand Plane

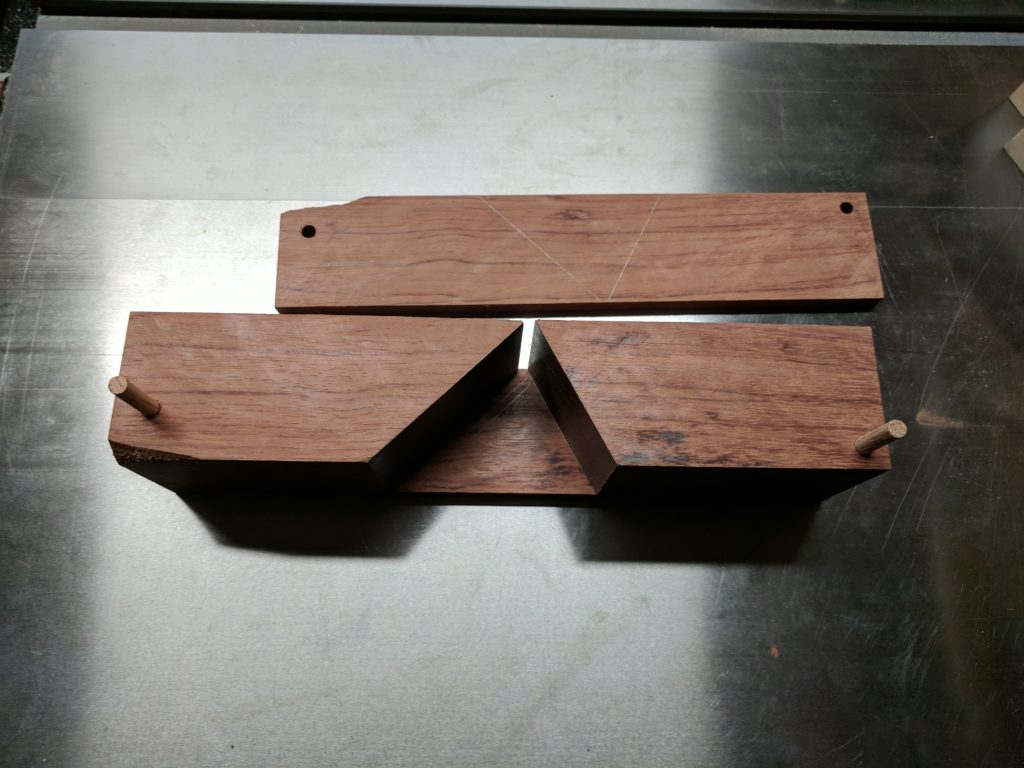
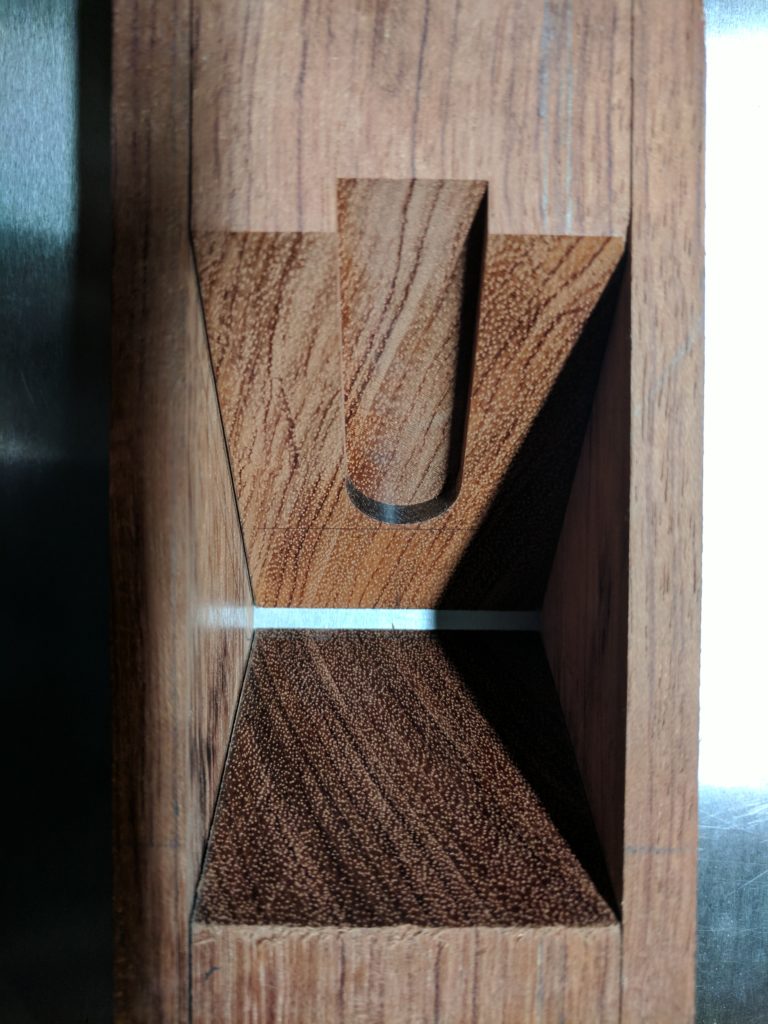
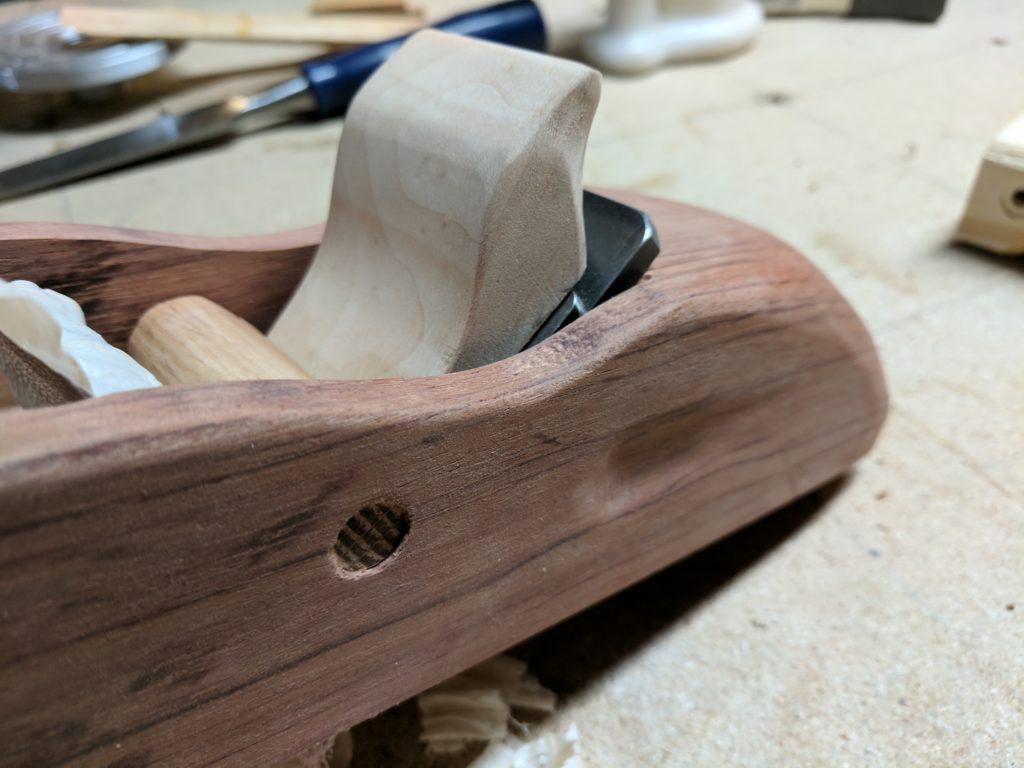
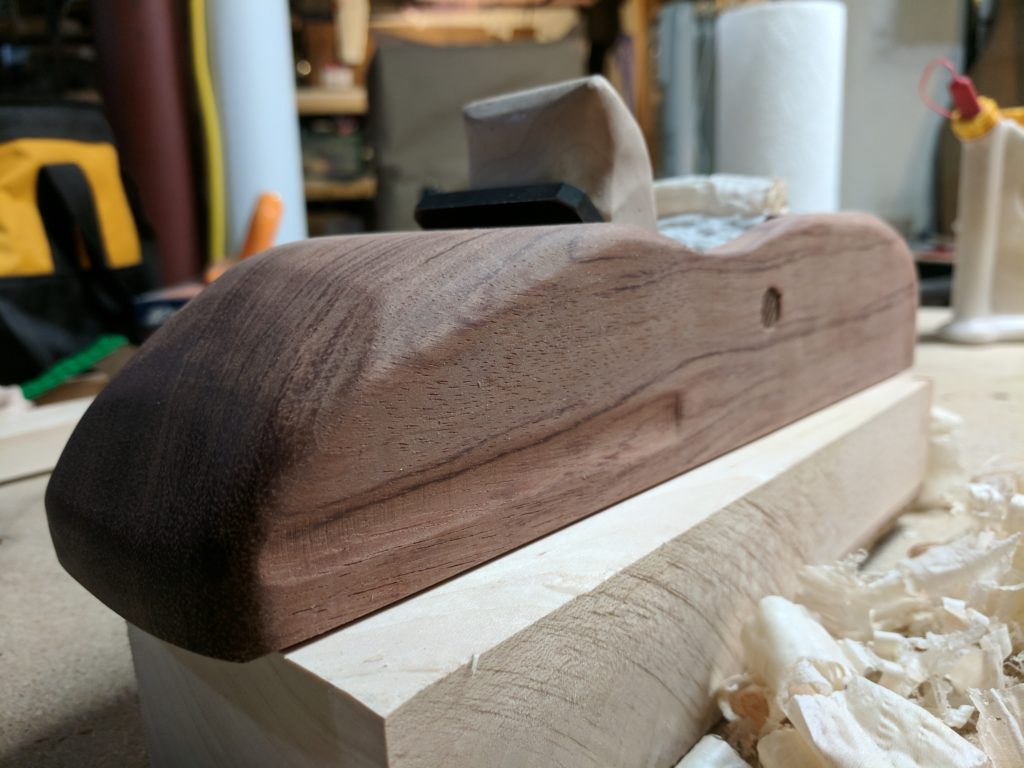
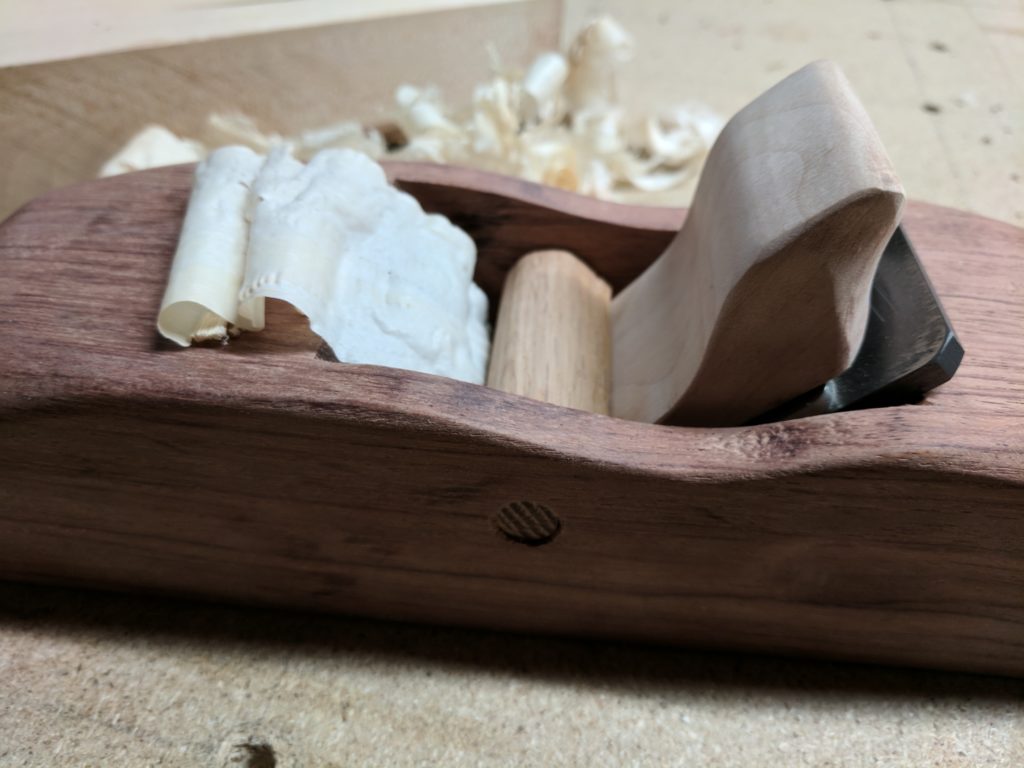
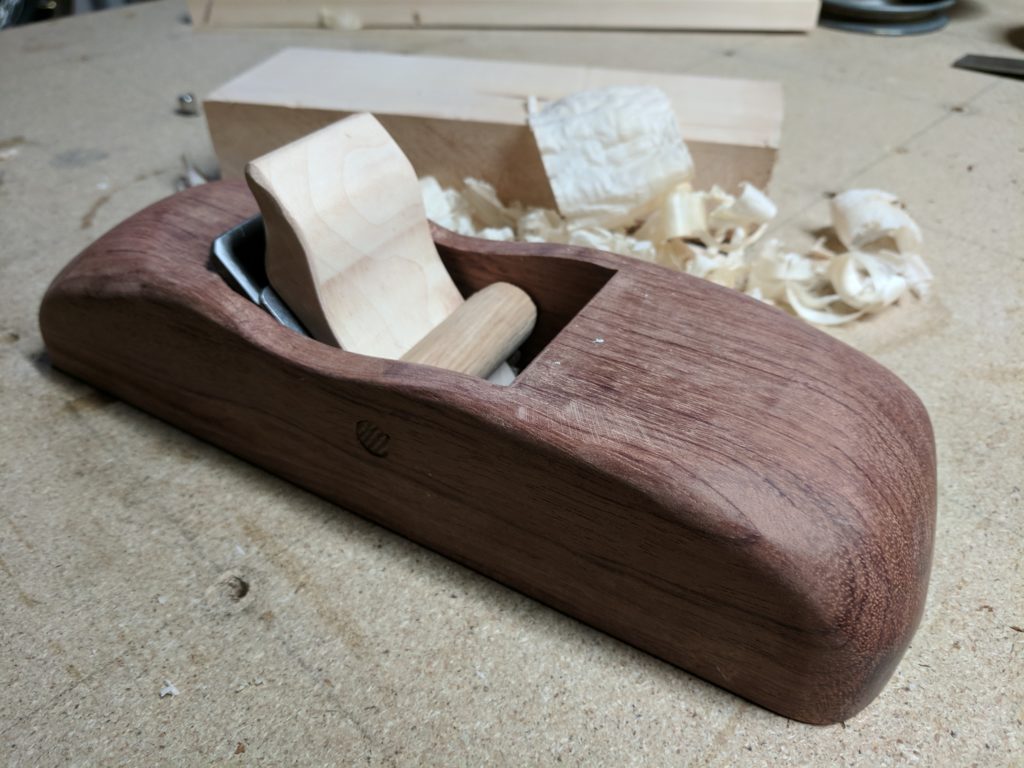
Just finished my third shop built hand plane.  This one is by far the nicest, made from incredibly dense bubinga hard wood for the body, with a oak cross pin, and maple wedge.  The iron is a 2 inch Hock Tools iron with cap.

The design was inspired by David Finck’s book, Making and Mastering Wood Planes.  Done in the Krenov style, it was left relatively rough as a shop tool.  I added some carved features to allow for a better grip, with a thumb divot and finger groove.

Works beautifully.